In 1998 artist Howard Friedland and I were married. Right away we could see that keeping track of two artist’s deadlines could quickly get out of control. So I devised a simple system for both of us to keep track of our paperwork. Yes, we do use an art data computer program ( Working Artist ) but that is another story. As visual creatures, we needed to put all the paper work in a spot that was easy to find and not miss the deadlines. We have used this for 15 years now and are happy to pass this on to you. From now on, you won’t miss the deadlines!
Here is our system for keeping track of shows.
It uses just a few basic tools. You will need:
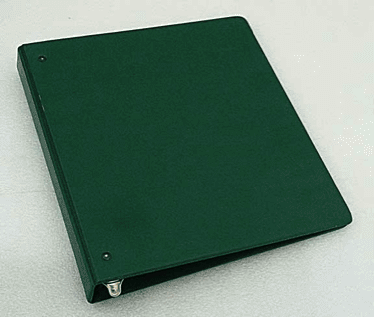
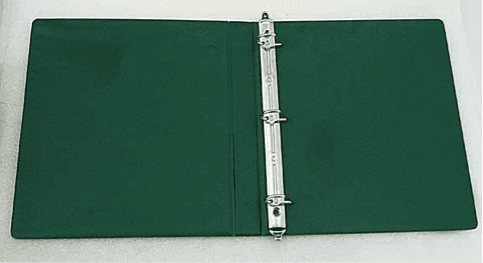
- A ring binder notebook
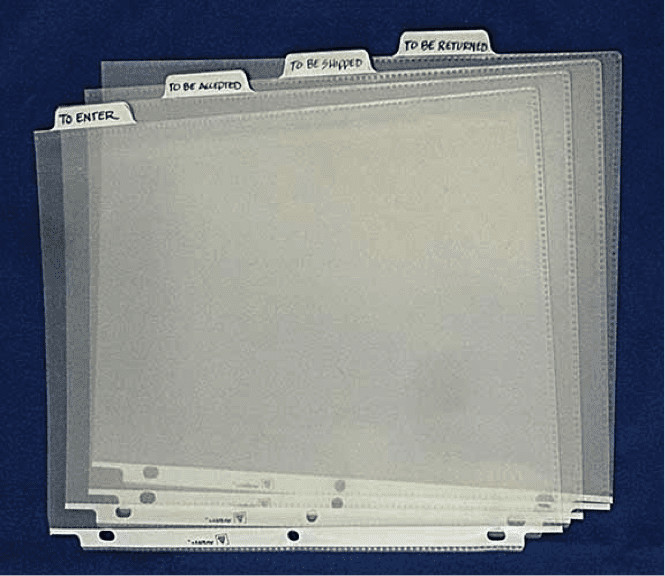
- Four tabbed dividers
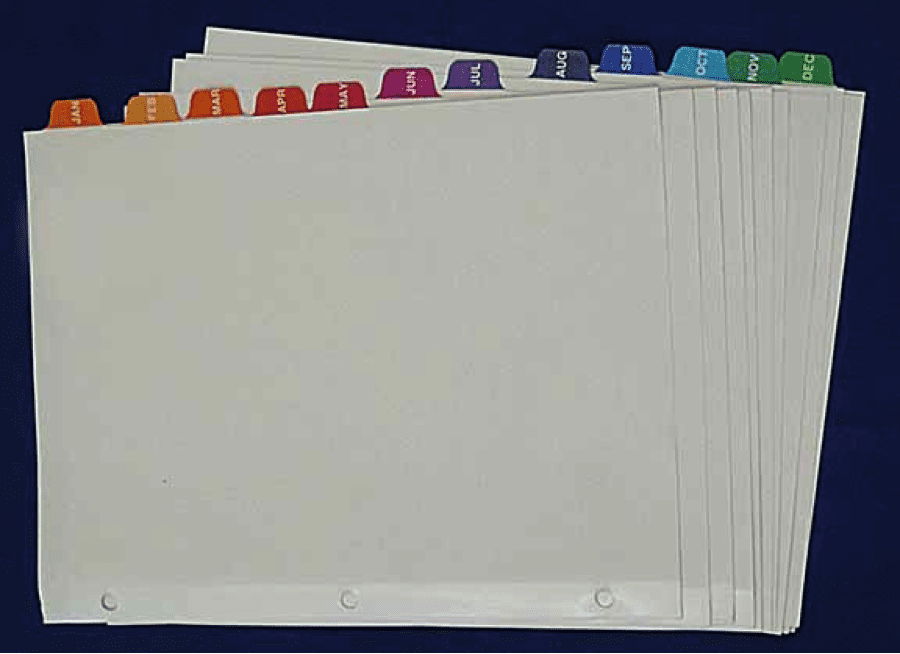
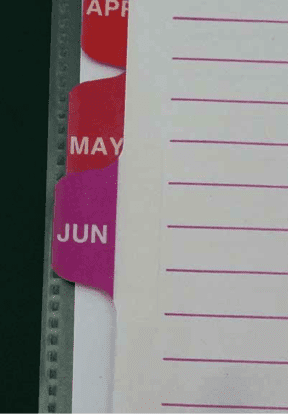
- Monthly tabbed dividers (January through December)
- Plastic sleeves
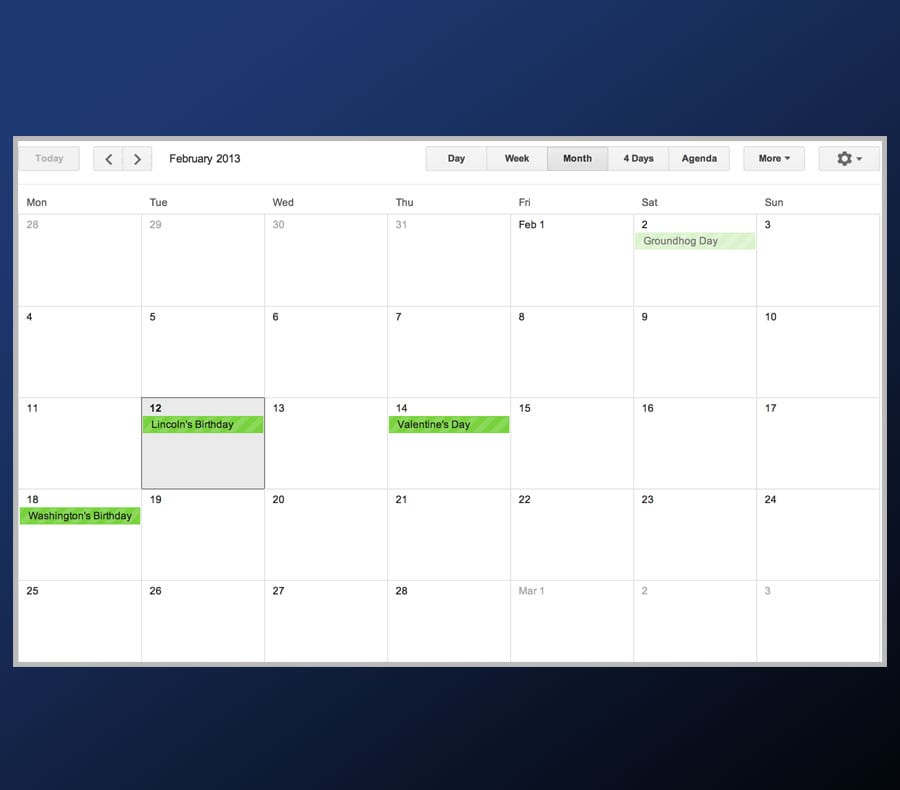
- Any Calendar that you use

Step One:
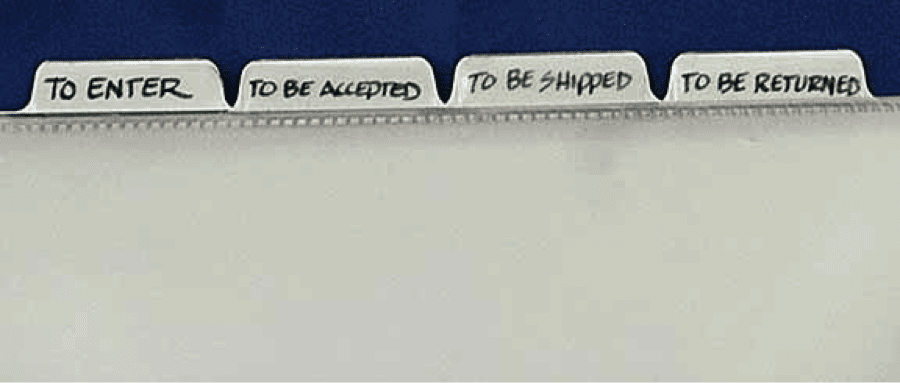
Fill out the following dividers
- To Enter
- To Be Accepted
- To Be Shipped
- To Be Returned
Step Two:
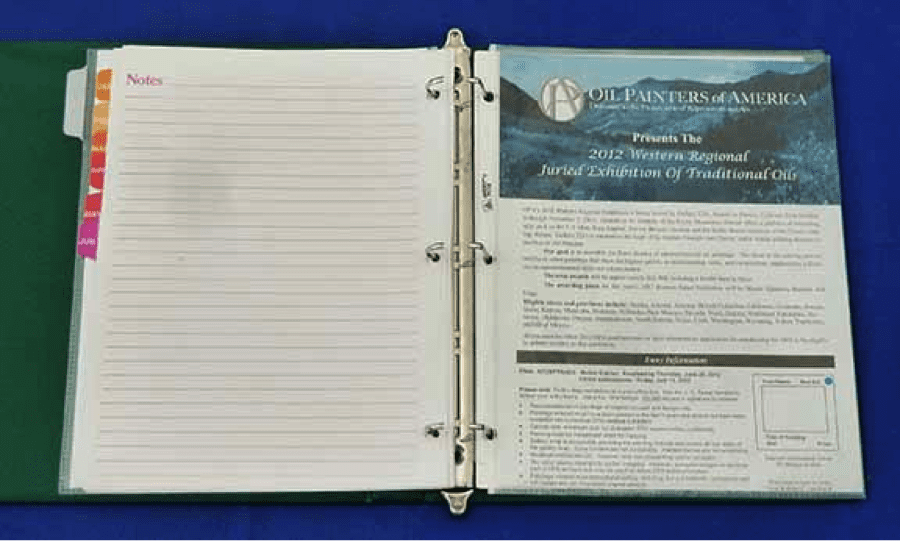
Inside of the Section To Enter – Put the monthly dividers

Step Three: How to use the system
Now you are ready to start using the system. Make sure that you have printed information on each show that you would like to enter, including computer printouts from the on line shows.
Each time you get the printed information on a show that you want to enter or are invited to enter, put the information into a clear plastic sleeve and file it under the month that the entry or images are due.
Also, at this time, put the Entry Due Date on your calendar.
 For example: The 2012 Oil Painters of America Western Regional Show Entry was due July 13. So I put the paperwork about the show into a plastic sleeve and filed it in July. Then I wrote that entry deadline date onto my calendar.
If the entry due date is close to the beginning of a month, I put the Information into the month before. That way I am not caught by surprise at the beginning of the month.
At this point, the paperwork on each show will start traveling through the notebook as each next stage is met.

After you enter the show, move that plastic sleeve, containing the paperwork about that show, to the next categorythe To Be Accepted section. This is the section for all entries and applications that you are waiting to find out the results (accepted or declined).
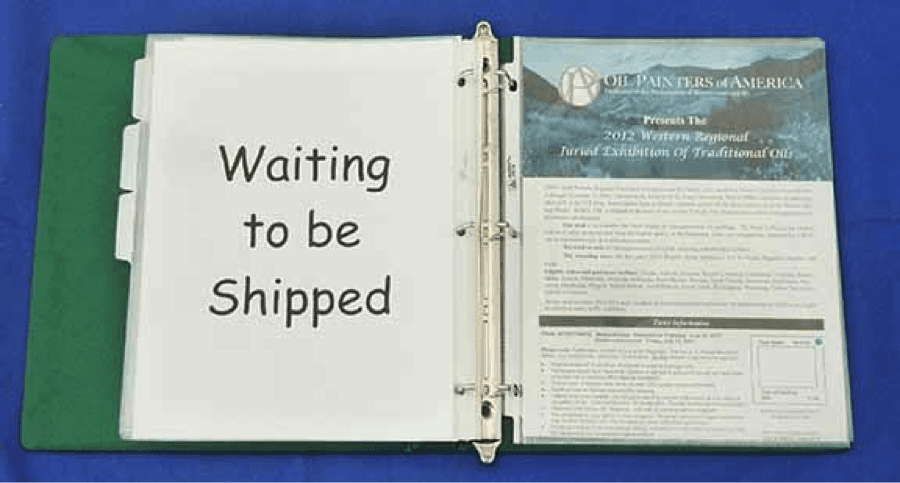
Once you find out that you are accepted in in the show, that plastic sleeve containing the paperwork about the show moves to the To Be Shipped section.
Mark your calendar for the date that you need to ship or deliver the painting.
If you knew from the beginning that you were invited to the show then skip the To Be Accepted section and put the plastic sleeve with the paperwork on the show immediately into To Be Shipped section.

Once you ship your painting to a show, move the plastic sleeve containing the paperwork for the show into the Waiting to Be Returned section.
This is very important because we have had one or two shows that didn’t return the paintings for a long, long time!!
Once the painting is no longer at the show, you can clear out the plastic sleeve and file your info on the show, or throw it away.
That’s it!
This is a great and easy system. We only use one book for all of the paperwork that comes in on shows for both of us.
Use the comment section below to let me know if you have any questions and how it works for you!
Don’t miss those deadlines anymore!
“Always save your best work for the shows.”– Zhiwei Tu