Copper became my love, my addiction of sorts, but it was not love at first sight. When I started to experiment with this surface several years ago, if I knew then what I know now, if I had access to the right copper panels which I have today, I would’ve fallen for it much faster!
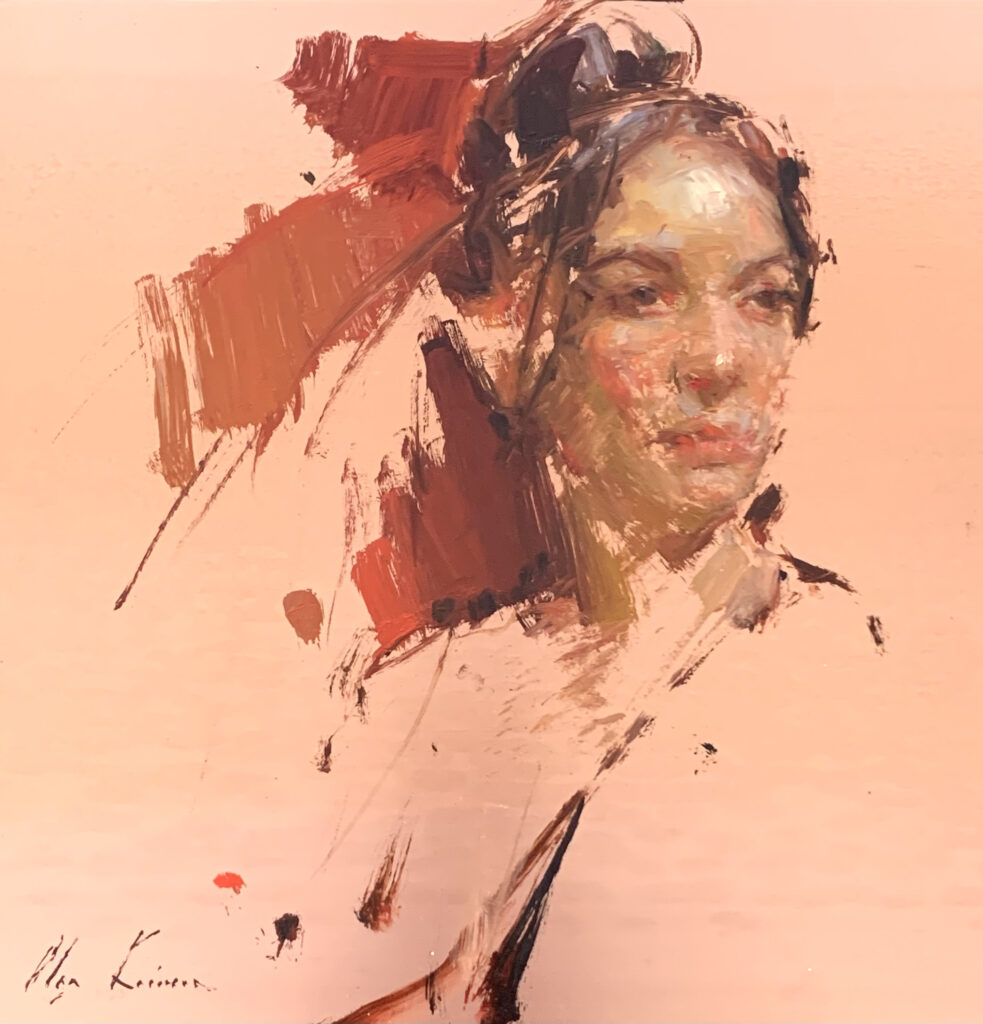
10″x10″ – Oil on Copper
The history of painting on copper is rich and long, and it is the only metal that I know of that forms a strong bond with oils, making it a proven and trusted surface for oil painting. While the Tate Museum has some videos online describing copper paintings from their collection, I also recommend the Natural Pigments/Rublev website, where George O’Hanlon and other conservators have written a lot about the subject. This article, however, is about my personal journey, and I hope that it gives some insight to artists and students who are thinking of trying this surface themselves.
I only knew of etching plates when I started. I ordered several of them, did quite extensive research on preparing them for painting, and started to experiment. The most helpful article on the process was written by Julio Reyes and Candice Bohannon in Realism Today (it’s still available online and was my go-to when I started). The proper way to prepare the etching plates back then was to lightly sand and rub garlic all over them to literally etch the surface of the copper to provide the tooth needed to take on the oils. I ignored the heady smell of garlic in the name of Fine Art! The surface of copper was very smooth, much smoother than the linen I was so used to, and it often took a couple of passes until I had enough oil on the surface to really get into the actual painting. I loved the shine of the copper against the opaque strokes, especially the skin tones, and I wanted to leave the copper surface as the background, but I could see the sanding scratches in certain light, and it bothered me. My early paintings were tiny, and I made sure to frame them as soon as possible as I was afraid that the soft metal would warp over time.
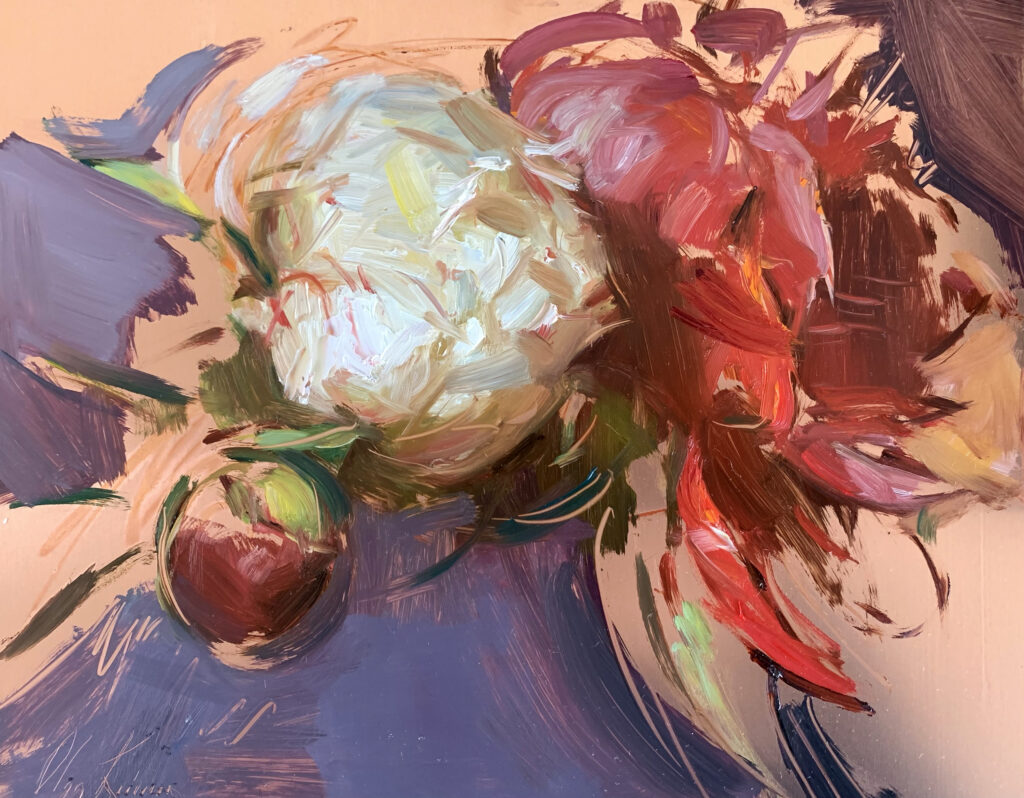
8″x10″ – Oil on Copper
My initial concerns were alleviated when I discovered the copper panels being made by Artefex and Raymar. Both companies came up with beautiful panels that are essentially copper on top of aluminum backing (with some core in-between these metals to make these panels a bit lighter, but you can get the full description on their websites). These are very strong panels that don’t warp, are fully archival, and what’s brilliant – they are ready to immediately take on the oils; there is no preparation time needed. As there is no sanding, there is no scratching of the surface, which was very important to me as it allowed me to create works with an exposed copper surface. While I personally work exclusively on Raymar copper now, and love it, I tried both panels side by side for years and they are both quite beautiful. (There is just a slight difference in the sheen between them, so I suggest you try both and decide which is right for you). Of all the copper surfaces I’ve tried, I truly believe both Artefex and Raymar have created the best panels that I’ve worked with, and I wholeheartedly recommend them both!
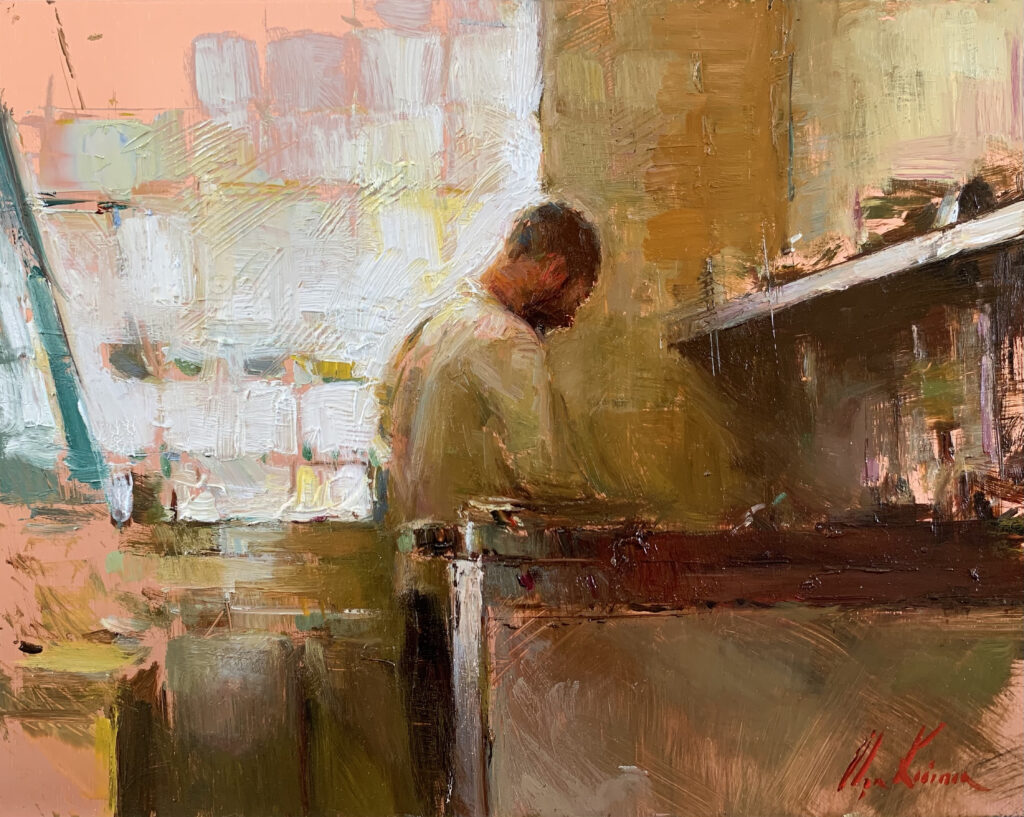
8″x10″ – Oil on Copper
If you are just starting to experiment with oils on copper, however, you might want to start out with etching plates, as they are an affordable way to get a feel for copper’s smooth surface, to get to test your brushstrokes on it, and be able to decide for yourself if you want to invest in archival grade panels. Remember, tossing away a messed-up etching plate while you are just getting a feel for copper will probably be less painful than tossing away one of those beautiful panels. Then again, maybe to really fall in love we need to go to the best materials we can get hold of, and just dive in – it’s a personal choice!
I sketch on copper to get away from linen (my other love), to get away from larger paintings, to play against a shining surface that changes the way the skin tones appear on it. In certain light the background may be rich and warm, and the skin may appear very light and opaque against the copper. The same painting in a different light may show the background stripped of all the color, and the figure might appear much darker against it. Paintings on copper can change dramatically from different viewpoints! Copper can also change when someone approaches it, as the viewer is reflected in it if he or she gets too close. It’s a beautiful thing, this “participation” in the painting, feeling, and literally seeing our own presence in it. It’s also something that I need to work around, as I can see my own reflection even as I paint (and even taking photos of a painting on exposed copper without seeing my reflection is no easy task).
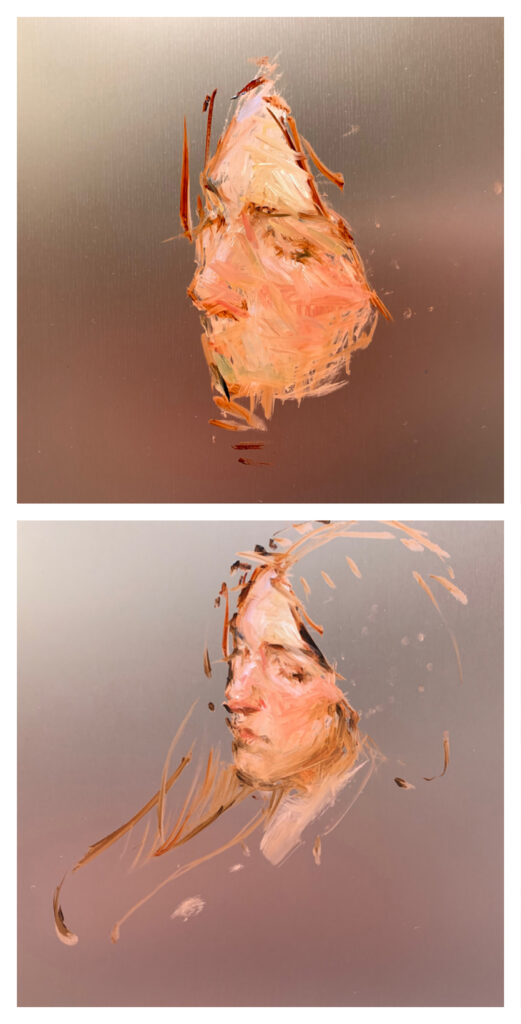
Because I want to leave the copper sheen intact, I cannot erase on it. Wiping something off of copper is almost impossible because it will change the uniform beauty of the copper quite a bit – It dulls it, and you can see a trace of the correction on the surface (which is only an issue if you leave the copper background fully exposed). There are a few past pieces of mine where I needed to change something, to reshape the forms, or had to move something compositionally that made me rethink the concept of the piece… and sometimes even demanded that I paint in the background because the wipe would’ve been far too visible. I love the risk taking of working on copper! I feel that I move slower (quite a bit slower actually) when sketching on copper and it’s the same rush that I get when drawing directly with ink, there’s almost no turning back. I have, however, discovered one trick when erasing on copper (although it’s not bullet proof). I wipe an area carefully with a paper towel soaked in Gamsol, followed by a clean paper towel. Then, because the trace of that wipe would still be visible, I literally breathe on it the way one would breathe on eyeglasses to wipe off a smudge and then follow it with a clean paper towel again. Sometimes this does the trick, sometimes I need to repeat it. And when it doesn’t work I rethink my idea and add elements to cover that area. Quite a few interesting discoveries and compositions have happened this way!
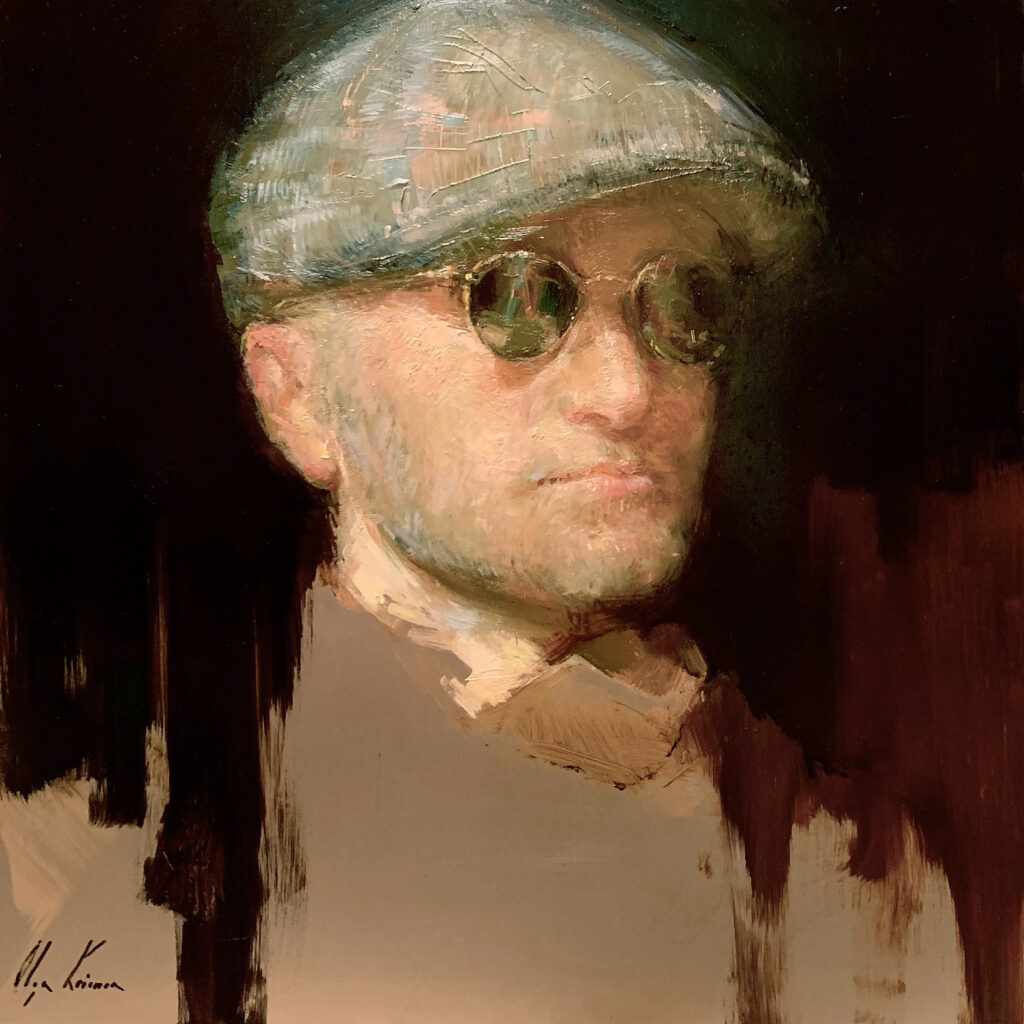
12″x12″ – Oil on Copper
I paint a bit differently on copper than I do on linen, I slow down, and I move to round brushes which I seldom use when I paint on linen. This wasn’t a conscious decision for me, but one that I discovered I did naturally. My favorite Master’s Choice long flats from Rosemary & Co don’t quite work on copper for me. Strangely, when I paint the skin, I start with the lightest areas of the skin first. On linen I would usually start by building out the dark areas, but on copper sketches I almost always go directly with the light areas first. I need to feel the opacity of the skin against the warmth of the copper from the very beginning. It’s akin to sculpting for me, I need to feel it. Also, quite often I leave the shadows as exposed copper, allowing the copper itself to serve as the darks. I don’t use any medium or thinner, as they don’t work on this surface at all for me. Instead, I very lightly touch the brushes against the surface, creating an almost ghost-like image that slowly develops. I do not work like this on linen, as linen is forgiving (it takes my washes, my thick strokes, the knife, all of it), but when I’ve painted on the whole copper panel, as in some of the examples here, I would’ve treated it the same way. But I am talking specifically about the way I sketch on copper while leaving the background exposed. And that’s where I am trying to be very careful. I am also trying not to touch the copper with my hands before the painting is varnished – any touch may leave a mark.
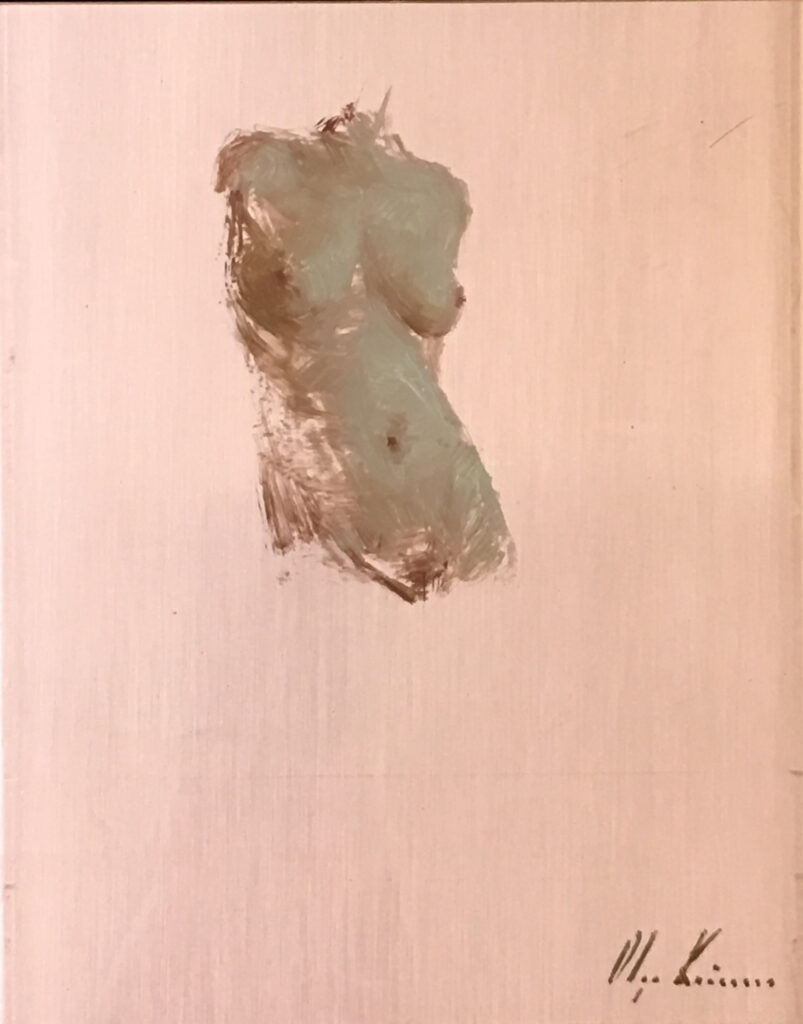
8″x10″ – Oil on Copper
A beautiful thing about working on this surface is the ability to hatch through the oil layer to expose the copper itself, so that those glimpses of metal shine through as the light changes – I find that fascinating! It’s something that almost unites both painting and drawing, which I feel I do at the same time when I’m working on copper; you can scrape through the oil, draw beautiful lines, and make interesting marks. While I usually use the tip of a painting knife or the back of a small brush when scraping through the oil, there are many other tools to experiment with. But be careful, never scratch the actual metal, do not affect the copper! I have also heard of some treating the copper plate with a mild acid to achieve a patina to paint on, but you should never do this as the copper will continue to corrode and no longer be of archival quality. The acid will slowly eat through the layer of oils and destroy your painting. While the patina may be beautiful now, it will become a disaster in the years to come (maybe not in our lifetime, but at some point) and eventually destroy your creation. Always be very careful with the surface of copper, and never alter the plate in any way!
Finally, never forget to always varnish your painting (especially if the copper is exposed) as you want to seal the surface so that the copper won’t change over time. I use Conservator’s Products Company’s varnish (I mix their regular varnish with their matte varnish, roughly 50/50) but to the best of my knowledge, any good varnish that you use for your oil paintings on other surfaces should work, just DON’T FORGET TO VARNISH! Once varnished, and provided your copper plate remains intact, your painting is ready for the collector and is now fully archival.
Yelena Lamm says
Great article, tons of very helpful information! Makes me want to try copper. Thank you Olga; I love your paintings!
t.e. smith denton says
excellent article thank you !!!
frankie says
I’ma gonna start painting on copper
Aletta says
Hi! One question: how long should I wait before applying the varnish?
cary jurriaans says
I do know that if the copper harms your painting it is for lack of proper preparation.
This is a great article, however, you can order copper online in sheets and prepared properly with the garlic, they hold up very well and cost a fraction of the panels advertised.
Paintings on Copper have been done since the 15th century, they have held up better than painting on other substrates and the colors have remained superb.. Book : Copper as a Canvas.
In order to prepare the copper properly go to Steven Assael’s website or Natural Pigments. They know what they are doing.