There are several ways to create more depth and a feeling of 3-D space in your paintings. Some of these include, atmosphere perspective, softening edges and flattening shapes as they recede and more especially, using the principle of linear perspective. I have students in my college classes who tend to shy away from linear perspective. I admit, perspective can be a daunting, complex principle, but it doesn’t have to be. To create more depth in my paintings I begin with a simple, one-point perspective grid before I paint in my subject matter by following three basic steps:
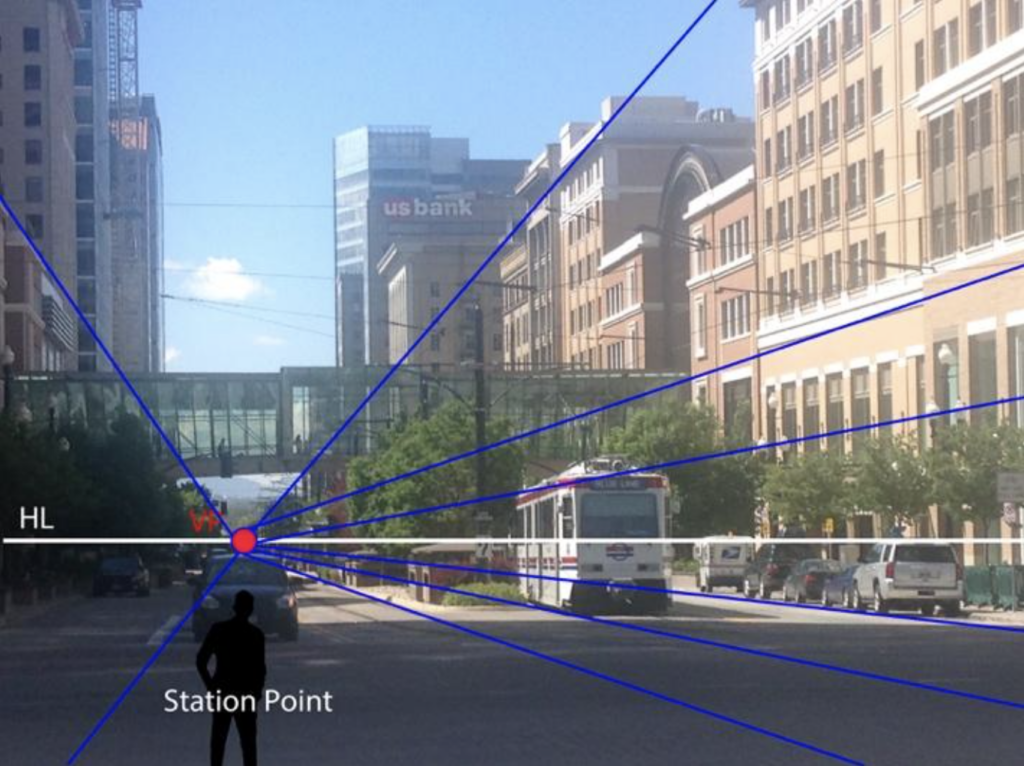
1. Find my horizon line (HL) or “eye-level”.
2. Locate my vanishing point (VP) or “station point”. This is where the viewer would be viewing the scene from.
3. All parallel lines go to the same vanishing point. Lines above the horizon line will appear to go down to the V.P. Lines below the horizon line will appear to go up to the V.P
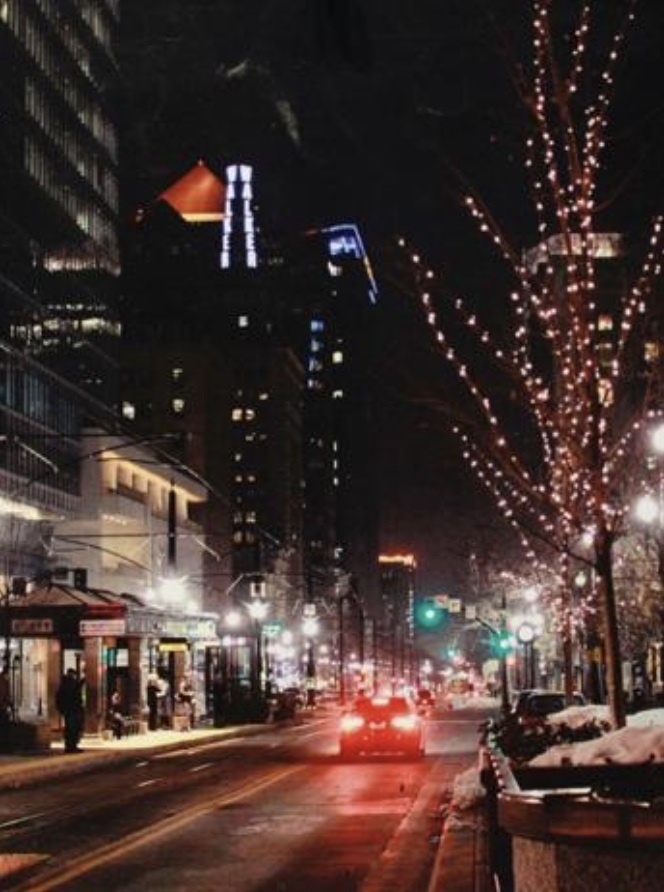
If you are working from a photograph, you can draw lines directly on the photo to find the VP and HL. Follow the lines that would be parallel to each other in real space such as the tops and bottoms of all the windows on the side of the buildings. In this example, the buildings are all lined up and parallel to each other. The crossing point of all these lines show where the HL and VP are located.
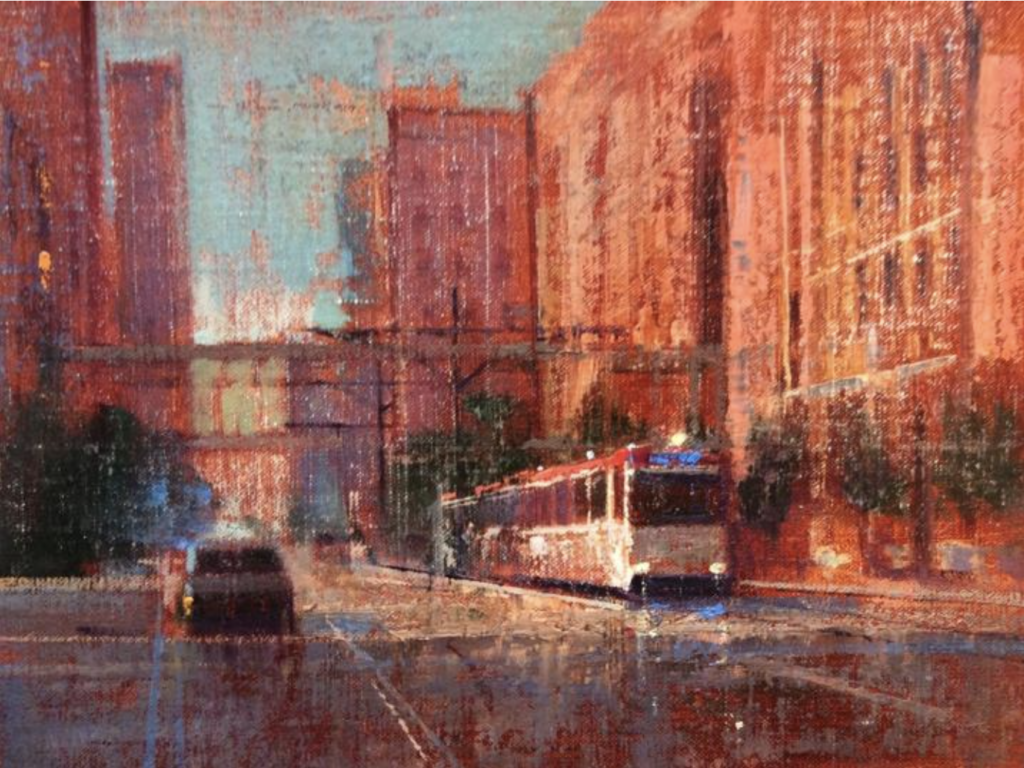
A high horizon line will give your scene a more “birds-eye” view as if the viewer is up in the sky, looking out the window of a tall building or a hillside.
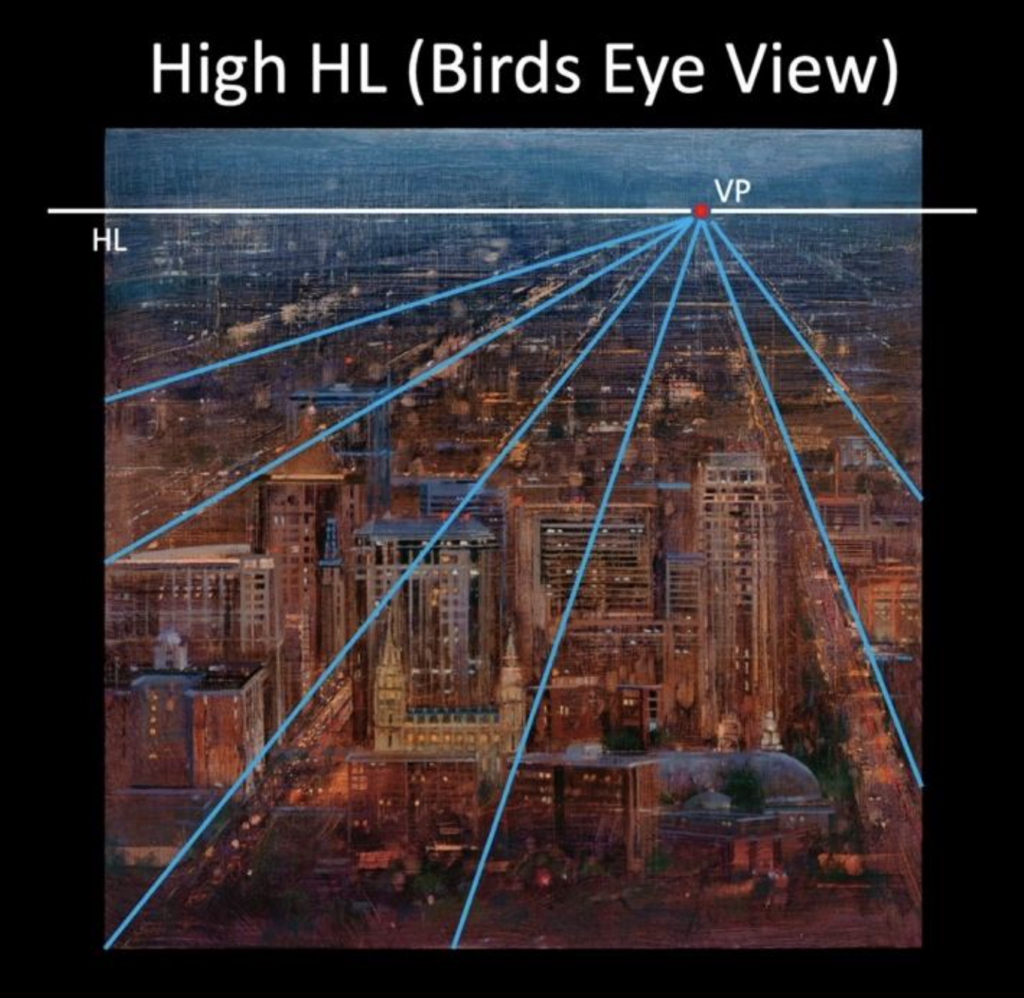
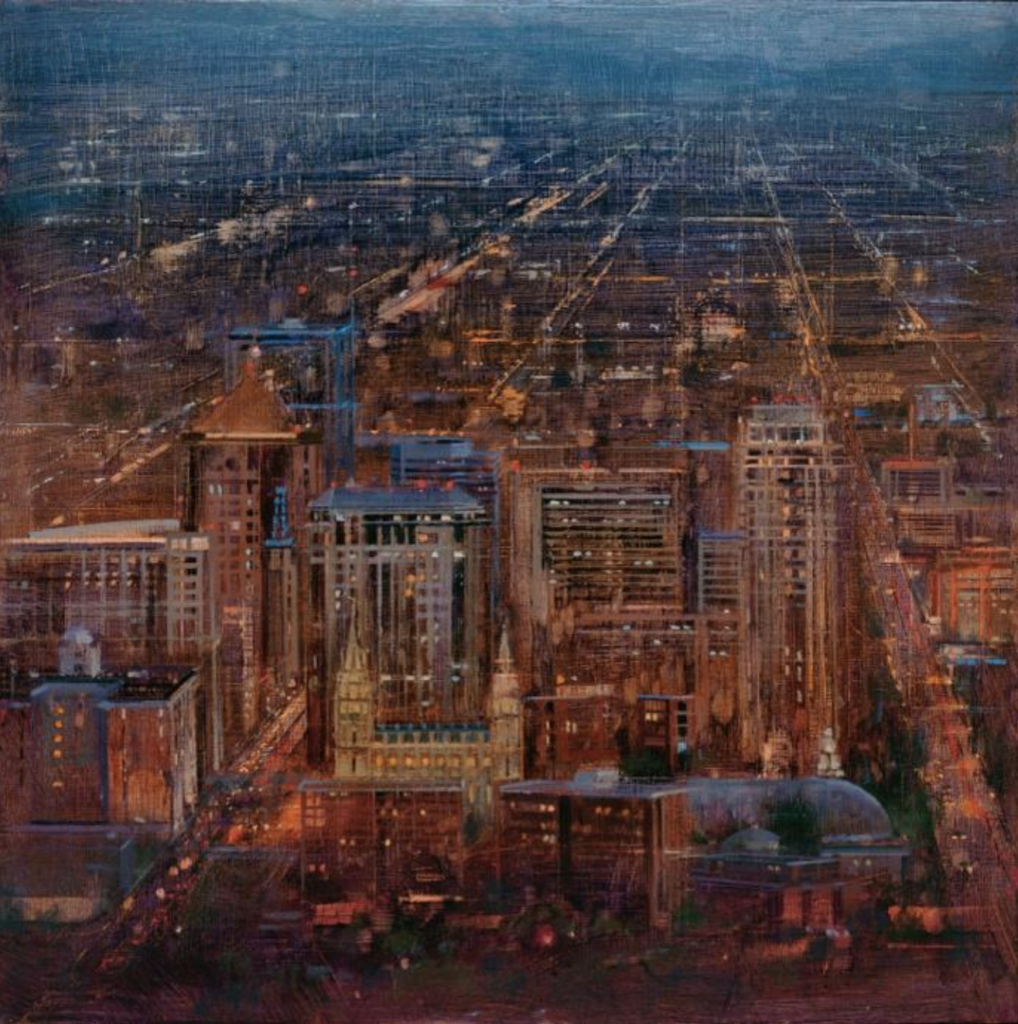
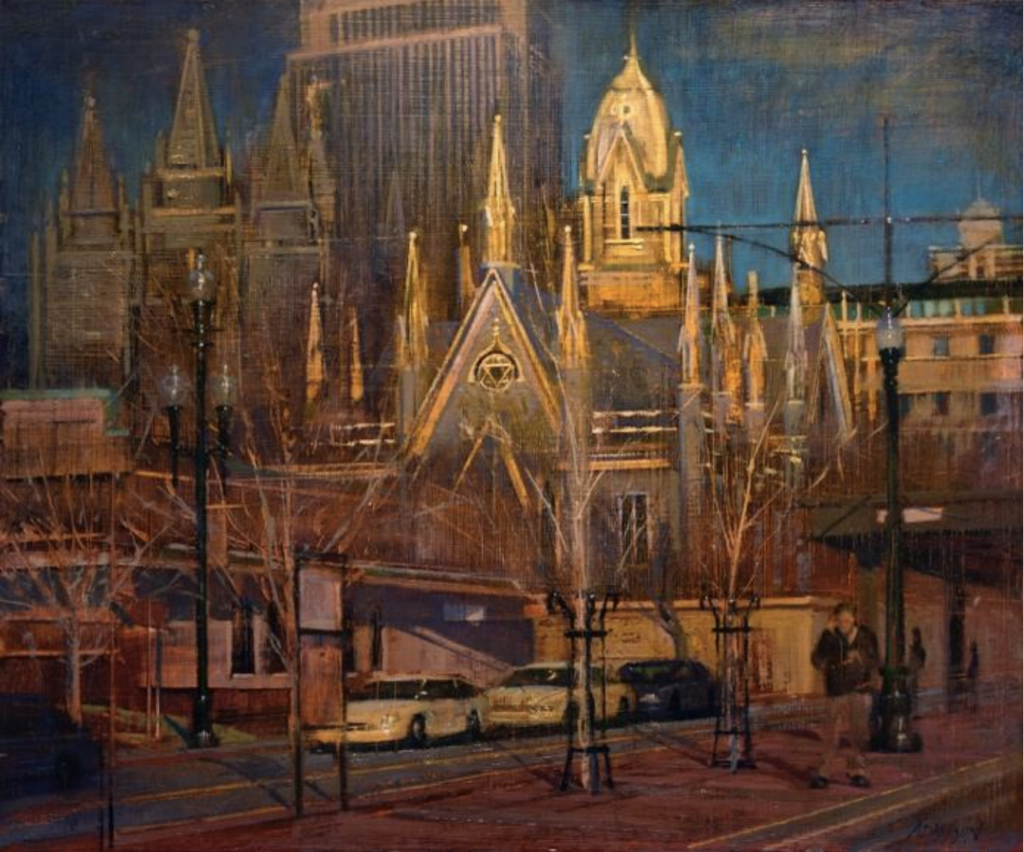
36”X36” Oil on Panel
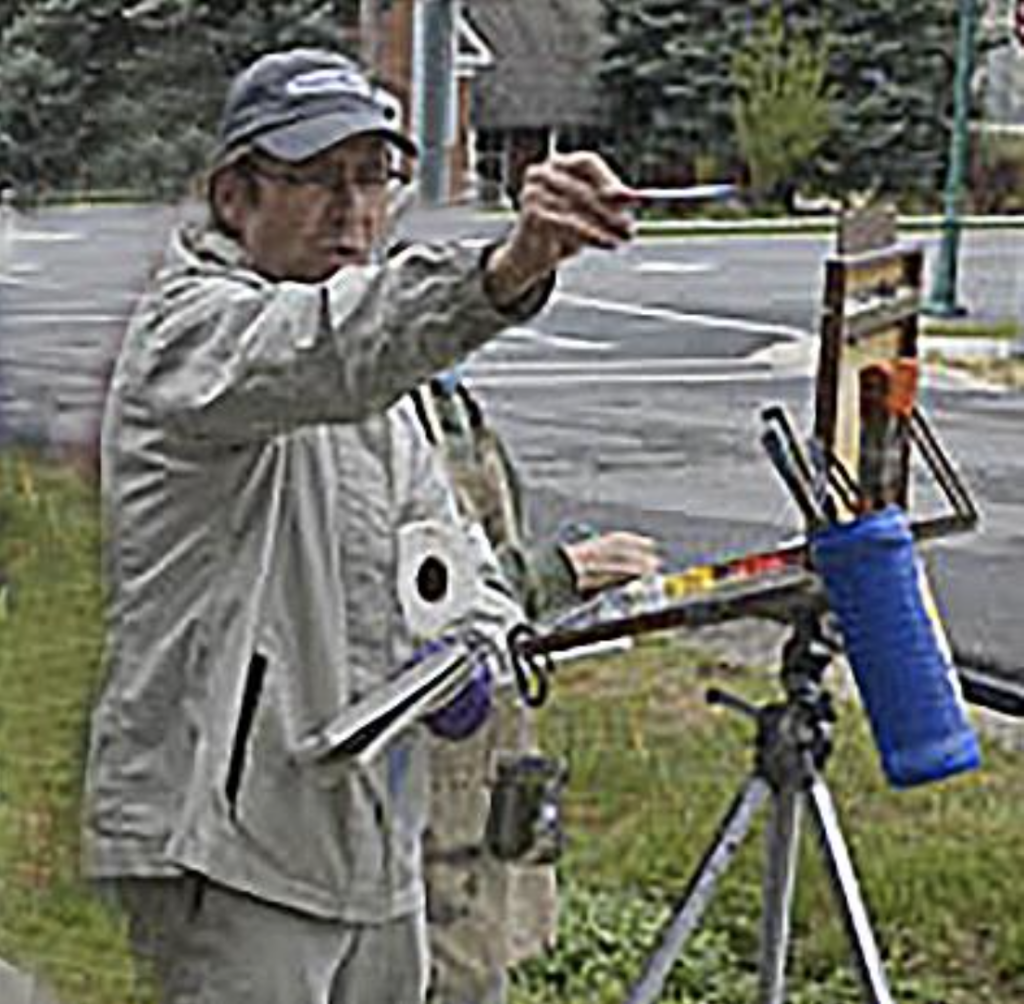
To locate your HL and VP on location, imagine a laser beam shooting out of your eye directly in front of you with your head level, not looking up or down, just straight ahead. Where that laser beam would strike on the side of a hill, rock, bush, tree, building etc., is the location of your horizon line or eye level. If you sit down, your HL will lower. If you stand up, your HL will be higher. Your VP will be your line of site or your station point, directly towards the HL. Another way to find your HL and VP on location is to hold out one of your long brushes like you’re looking down the barrel of a gun with one eye closed, straight ahead and level. Where the end point of your brush appears to touch what is in front of you, that is your HL and VP.
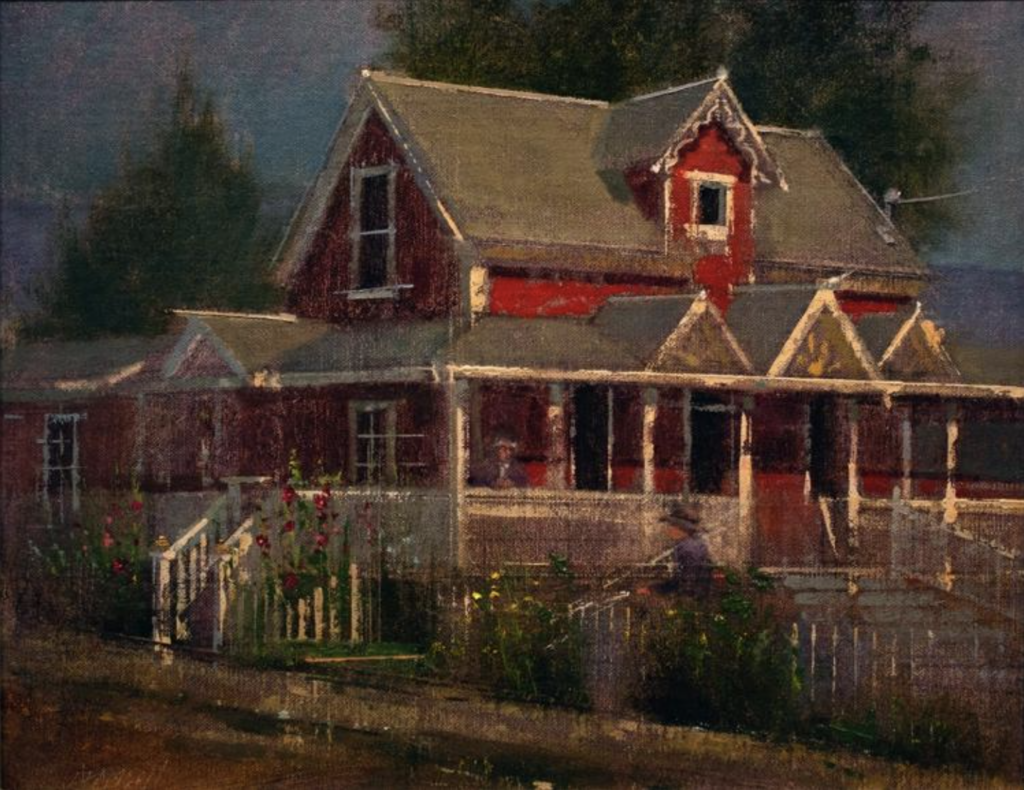
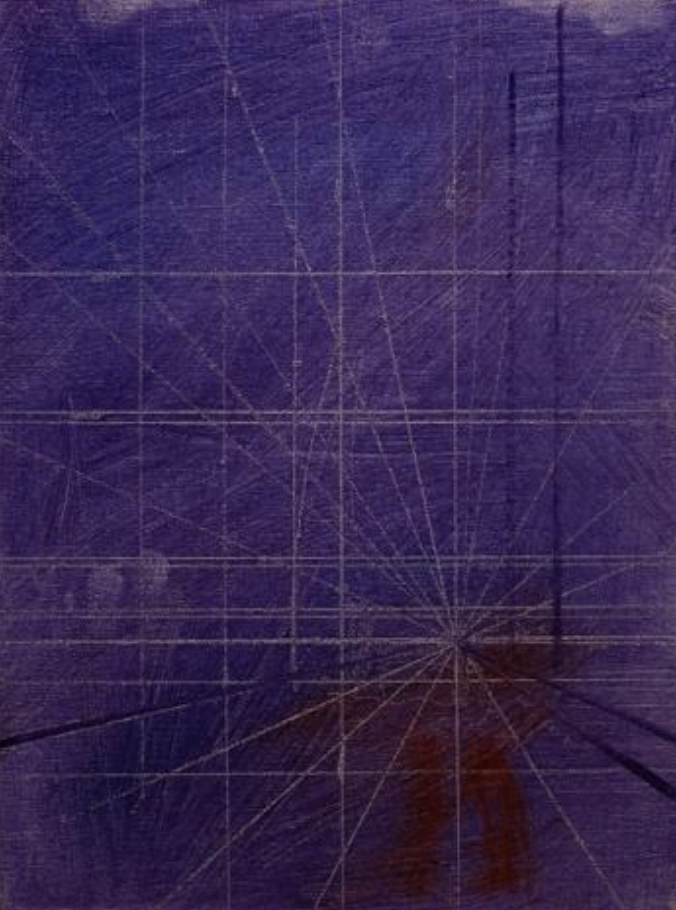
When I begin my painting, I first cover the entire canvas with a mixture of one color and a basic medium such as Liquin. I then lift out or subtract the paint where I want my lines and marks. You can use the back end of your brush to make scratch marks, use a Q-tip or a clean brush to lift out lines and marks. Locate and draw in your horizon line or eye level. Then locate your VP, or your station point. Next, with a straight edge (you don’t need a straight edge but it’s helpful) draw lines out from the VP in a radial fashion. Draw a bunch of lines so it looks like a big spider with many straight legs coming out of your VP. At this point, your grid and painting will already have a sense of depth. Begin drawing and/or massing in the shapes on top of this grid.
(See diagrams below. Also see my demo video link at the end of this article).
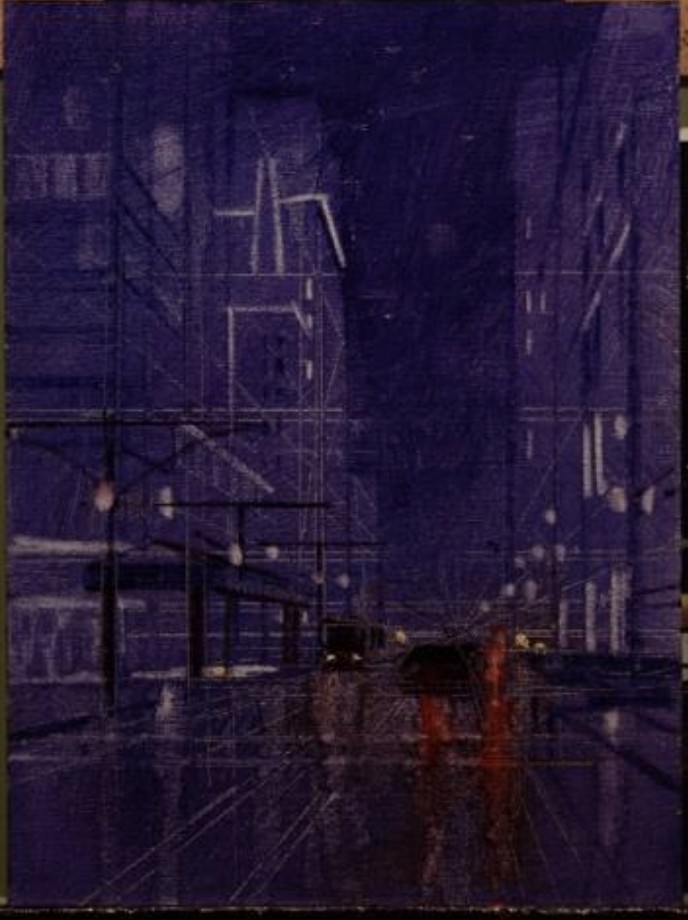
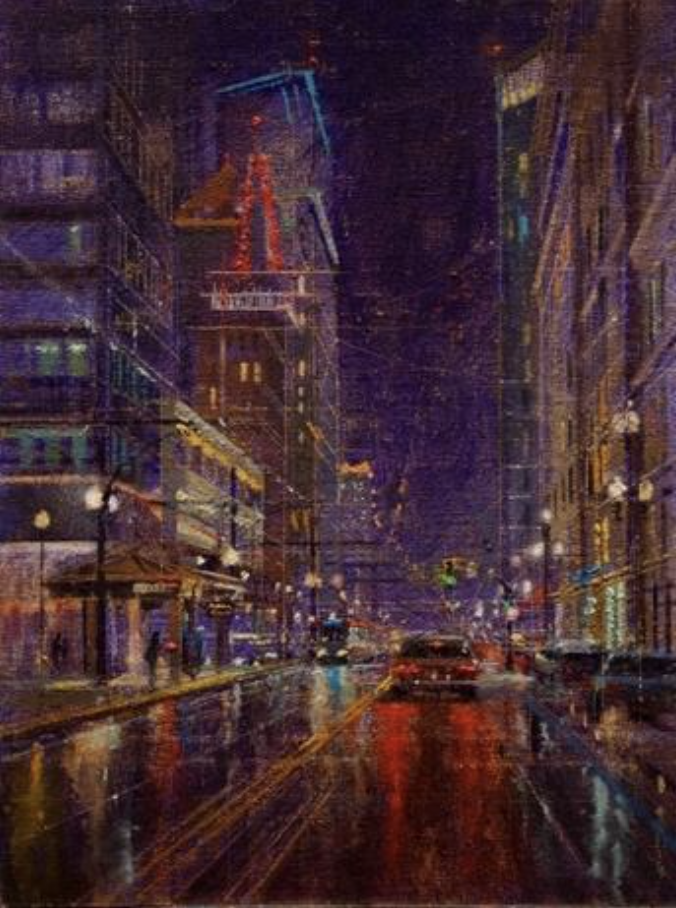
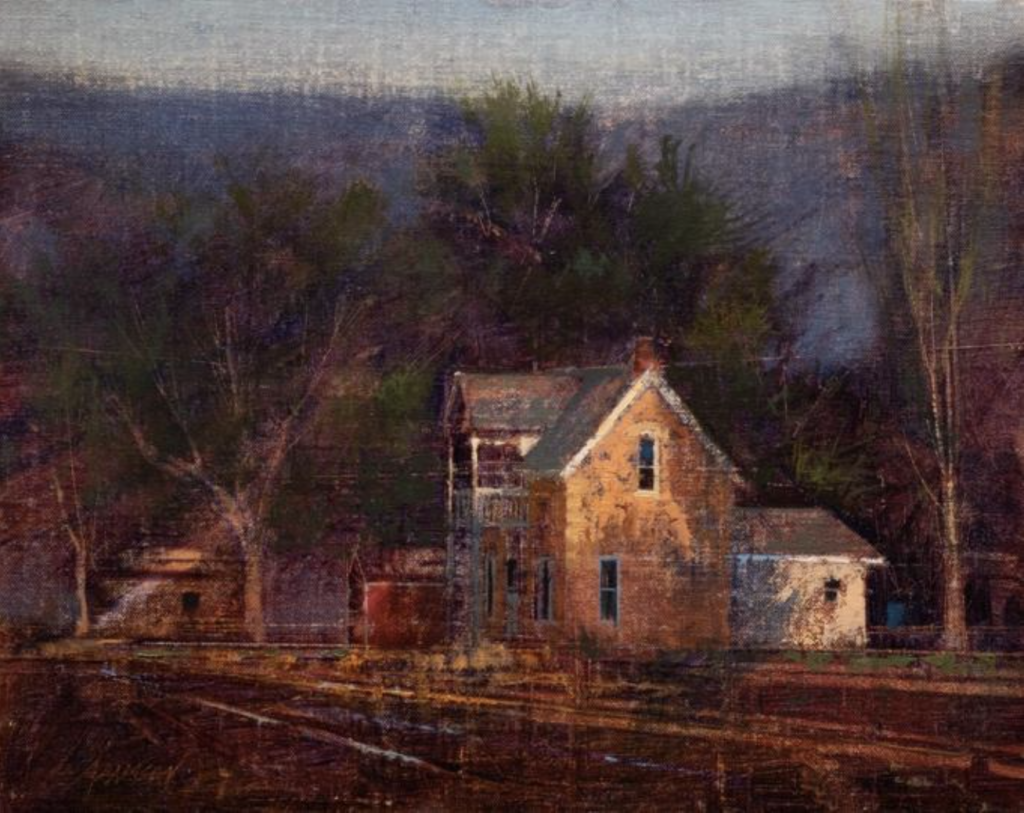
You can also use the spider-like grid lines in your landscape paintings to help you place rocks, pathways, streams, trees, and clouds, etc., giving your painting more depth and interest.
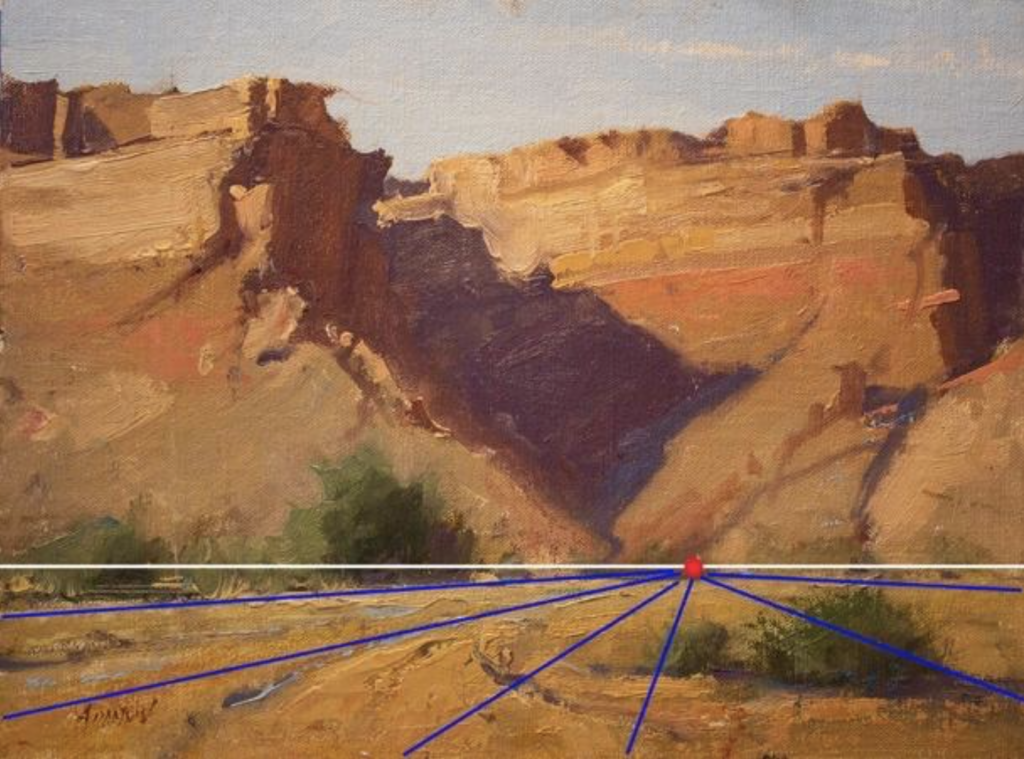
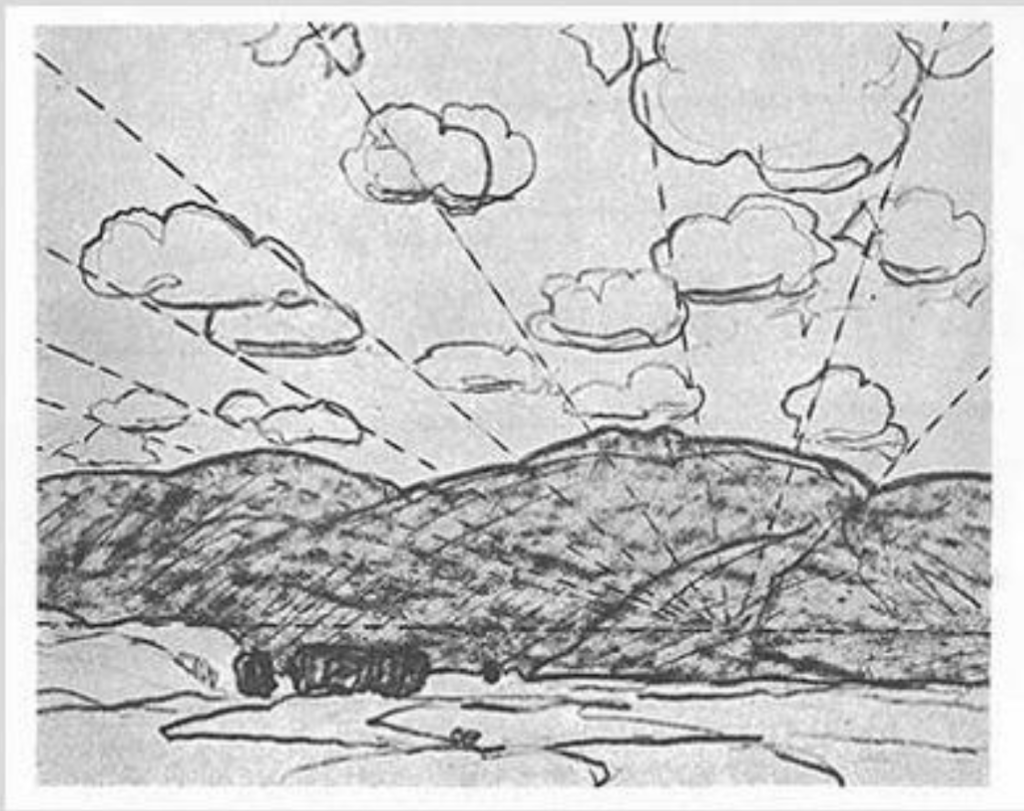
In this drawing taken from the book “Carlson’s Guide to Landscape Painting” (see below), John Carlson shows how a one-point perspective grid can be helpful to accurately lay-in cloud forms giving the sky a more vaulted and spacial effect. The clouds can be more accurately placed within the perceptive grid as they move into the distance showing a more natural and correct size relationship as the clouds appear to compress and diminish in the distance.
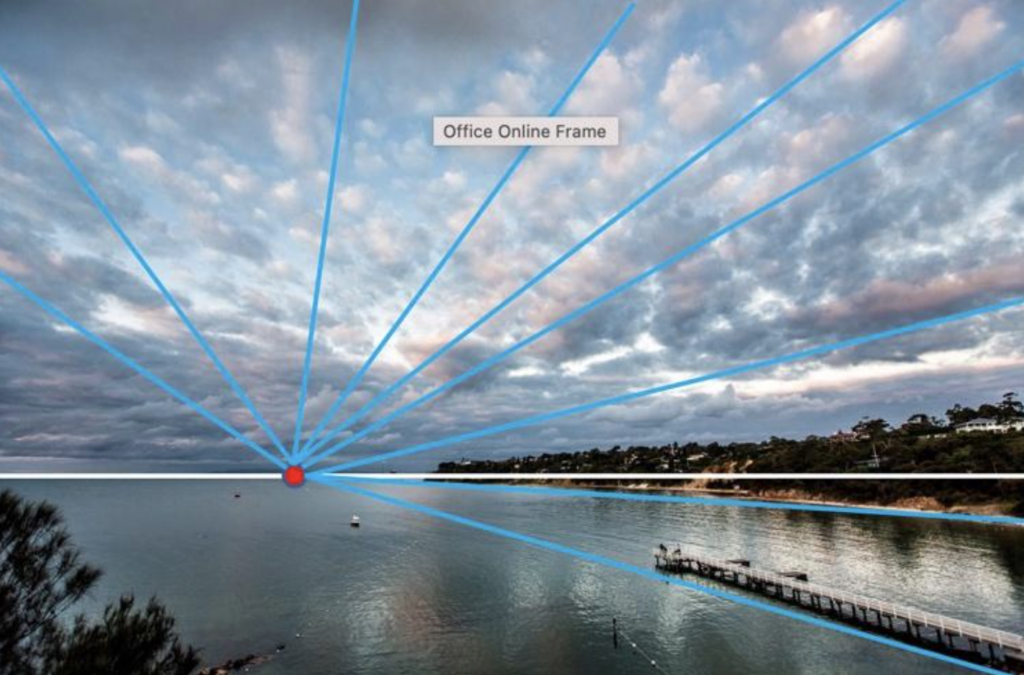
Understanding these 3 basic principles will allow you to create more depth and a feeling of space in your paintings. You become the director of your own show in painted form! You get to decide the viewer’s location, VP or station point, the “camera” angle, if it’s a high or low horizon, etc. Give the one-point perspective grid a try and let me know what you think!
Note: Rob Adamson will be teaching a 4-Day workshop at the Scottsdale Artists’ School in May of 2024 using these principles on linear perspective. For details: https://www.scottsdaleartschool.org/events/153/
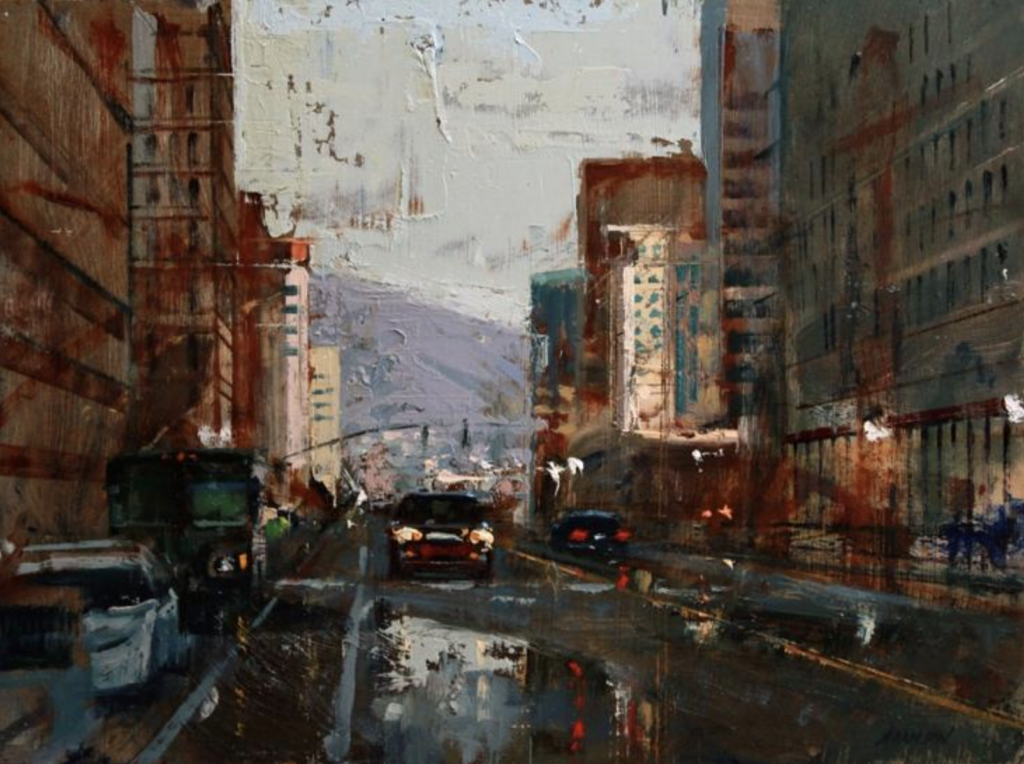
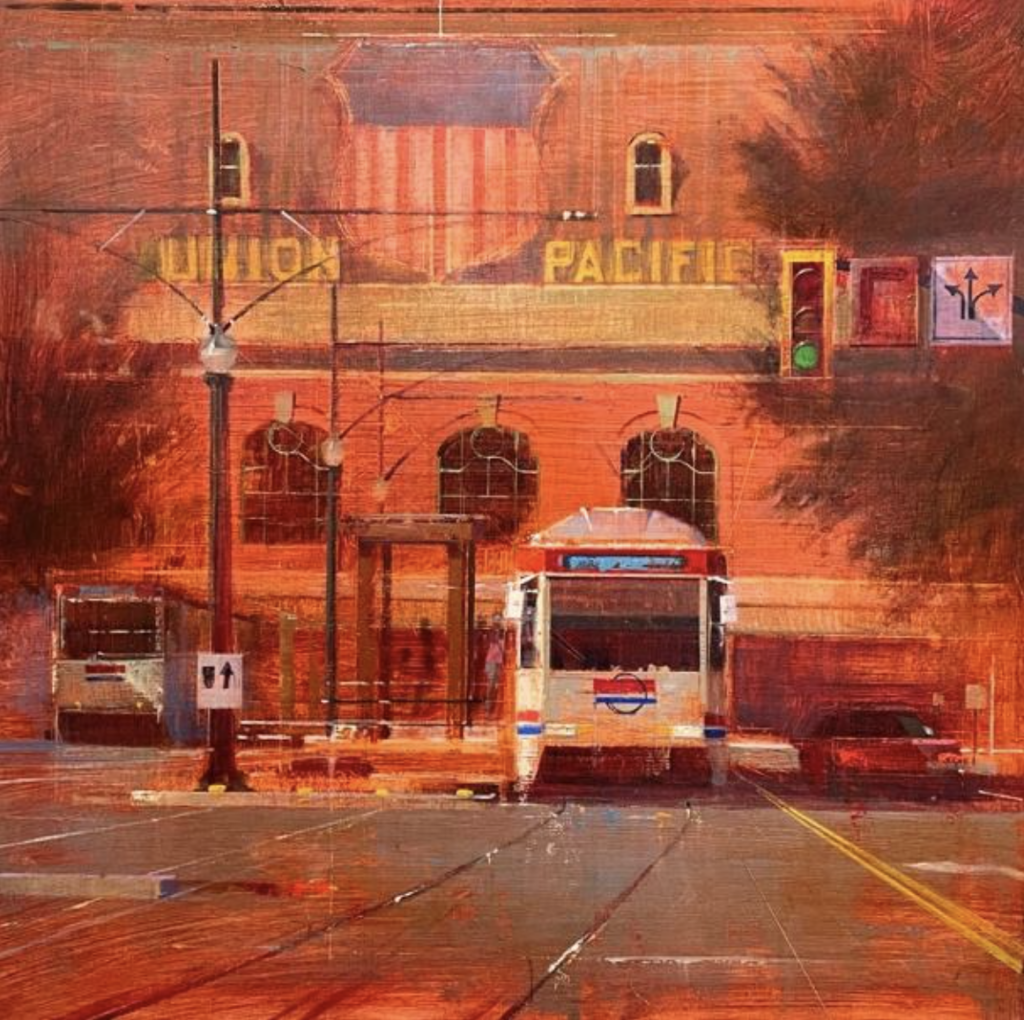
For a full video demonstration watch: https://www.youtube.com/watch?v=LrdJNgX9Z3Y
For a shorter timelapse version of a similar scene: https://www.youtube.com/watch?v=C0y4DRDHwnc
Cindy Quayle OPA says
Mr. Adamson, Thank you for posting this really interesting and informative information. I especially love the applications in landscape as well as the cityscapes. I also love seeing your beautiful artwork.
I have one question that I would like to ask about the very first photo reference. I cannot figure out why the distant US Bank building doesn’t seem to follow any of the perspective lines as in all of the other buildings.
Is it an anomaly of the photograph because of the camera lens or something else? Very curious. Thanks!
Rob Adamson says
Thanks Cindy for your kind words and question. Yes, The US Bank building does seem a bit off in the photo and it’s a good thing to point out. The reason why is that particular building has a hexagon shape so the side of the building you see is not actually parallel with the rest of the buildings. Consequently, it would not share the same vanishing point. The lines of that building would actually go to another vanishing point on the same horizon line. Does that make sense?
Rob
Telkom University says
Can you explain the role of perspective in creating a sense of depth and dimension in visual art?
Rob Adamson OPA says
Thanks for asking this question.
Fundamentally speaking, there are two main types of perspective. Linear, which my article is about, and atmospheric or aerial perspective. Both types allow artists to create a more realistic portrayal of nature achieving the illusion of depth on a two-dimensional, flat surface.
Linear perspective is thought to have been devised during the early 1400’s by Italian Renaissance architect Filippo Brunelleschi. He created a system of drawing that showed the illusion of depth and 3-D dimension on a flat surface by making all actual parallel lines converge to a single vanishing point on the composition’s horizon line (as I discussed and showed in my article). Objects also appear to get smaller the further back into space they are.
I like this quote by pop artist, Roy Lichtenstein, “People think one-point and two-point perspective is how the world actually looks, but of course, it isn’t. It’s a convention”.
Atmosphere perspective is creating the illusion of depth by moving back into space on a flat surface. Objects closer to the viewer appear more articulate, sharp and detailed with a higher contrast in both value and color. Objects further back into space are more blurred out with lower contrast in both value and color and have little detail. For example, where I live, distant mountains at times appear to be a lighter bluish-gray when in reality they are covered with dark green pine trees. This is because objects progressively take on the hue and value of the atmosphere as they get further away.
I hope this helps. Please let me know if you have any further questions.
Anne Marie Oborn says
Very concise and to the point. I am so fortunate to be able to take your class.
Rob Adamson says
Thanks Anne Marie. And I’m very fortunate to have you in my class!
Katherine Adamson says
Great educational piece on perspective!
Thanks for sharing!
Rob Adamson says
Thanks, Katherine!