A few months ago, pressure to create enough work for an upcoming solo show and several group shows meant I needed a lot of art in a hurry. I thought if I could work in a series the art would flow faster and have a cohesive look for my show. But the journey to start my series was not easy.
In the Beginning
Procrastination sets in if I seek ‘the big idea’ too long and I was getting there fast. A good long talk with a close artist friend luckily intervened and led to inspiration. I realized I wanted to explore important moments from my life, and re-create a distilled memory of that emotional response with a visual image. But what exactly would my visuals be?
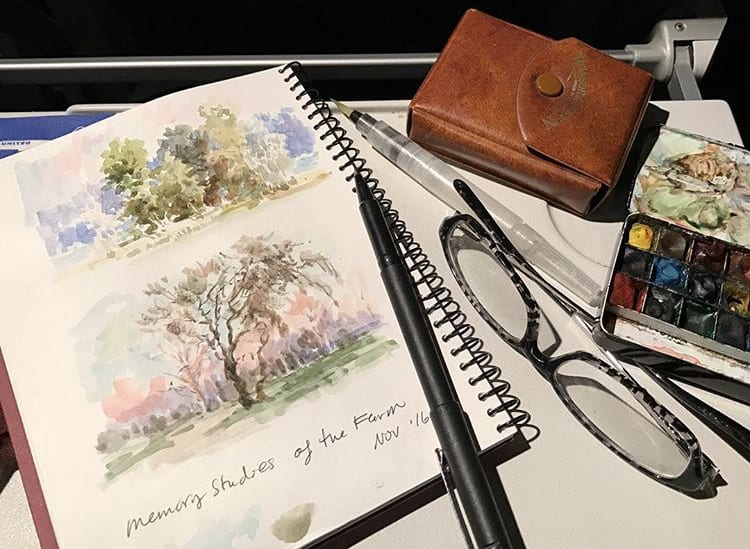
Dig Into Memories and Sketches
I tried something new to brainstorm for my future paintings. Since I was starting with only an idea, I sat in my studio and recalled strong memories with no reference in front of me. I thought of sunrises and sunsets during family vacations at the ocean and how happy I was; or childhood memories growing up in France and what it felt like to revisit and sketch in Monet’s garden again 30 years later. I thought of a period of artistic growth during a workshop near marshlands. I thought of things I really wanted to paint!
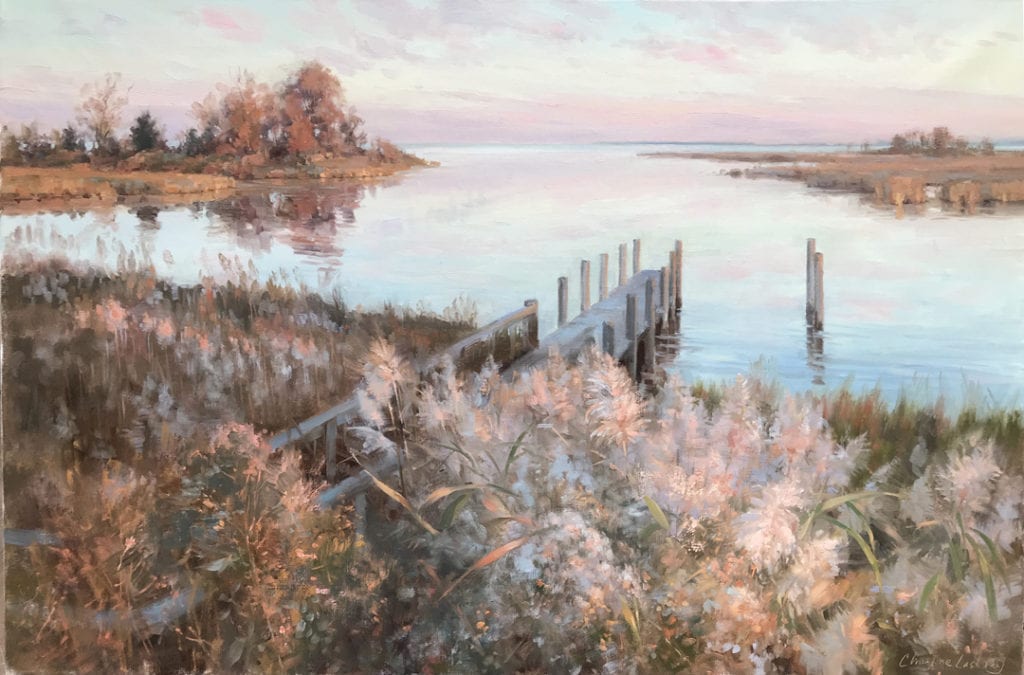
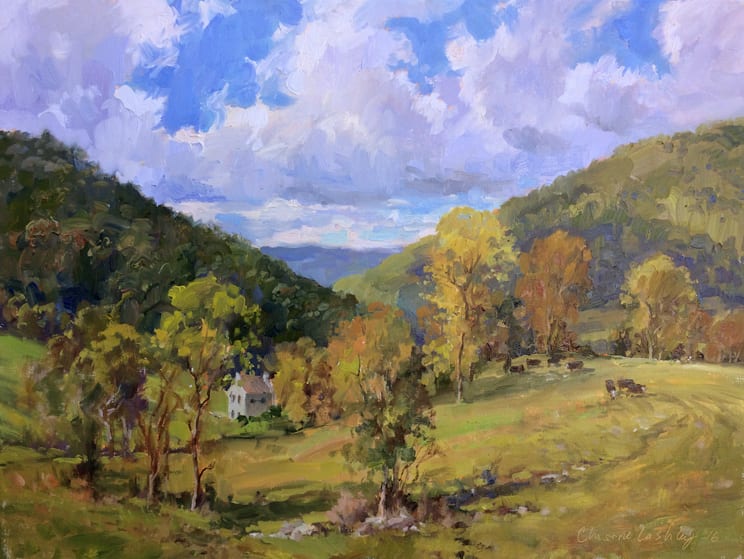
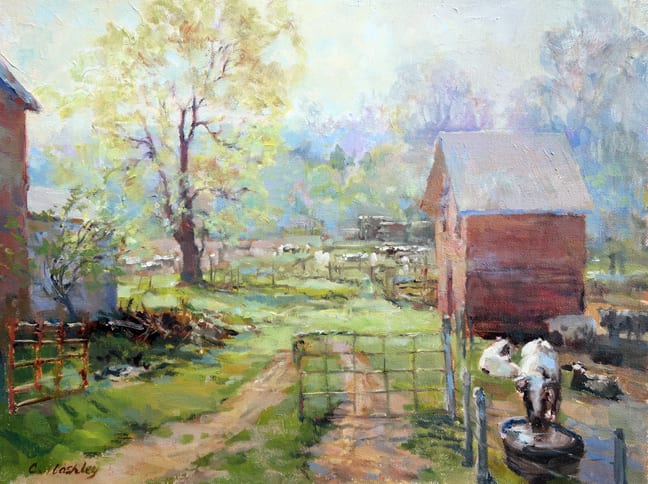
by Christine Lashley
oil, 24″ x 36″
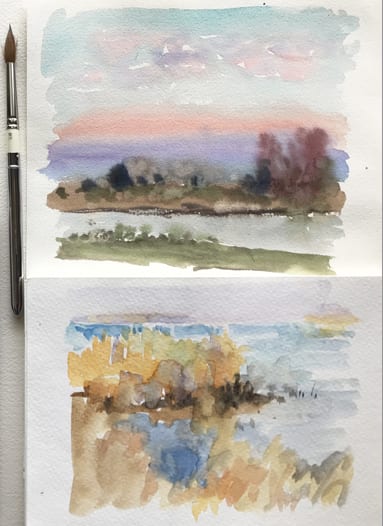
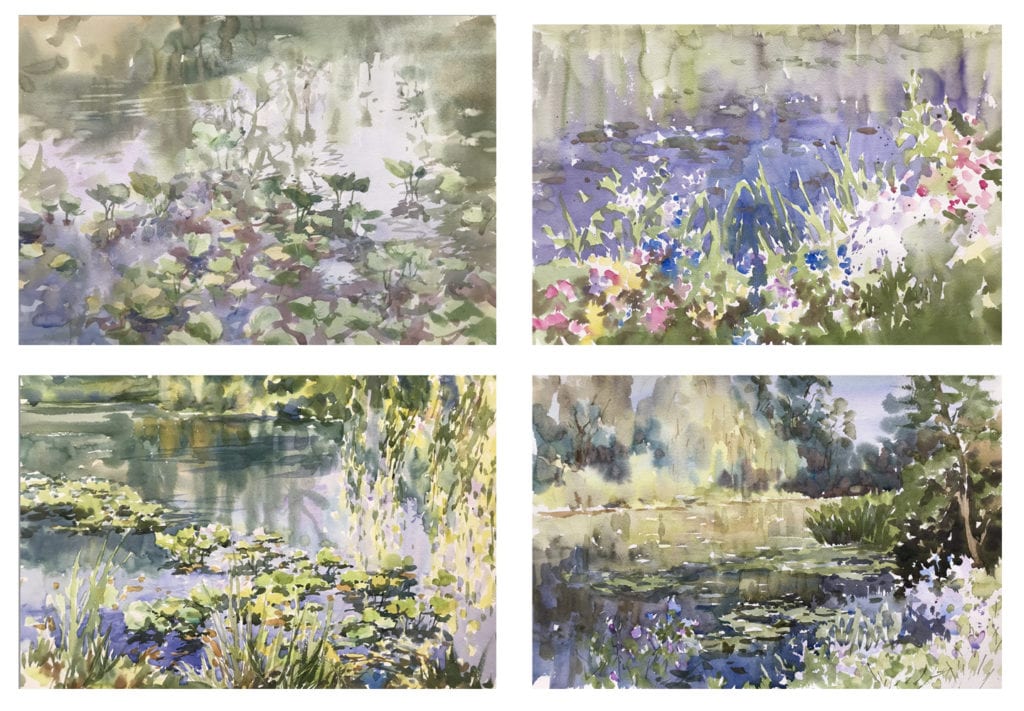
watercolor marsh studies
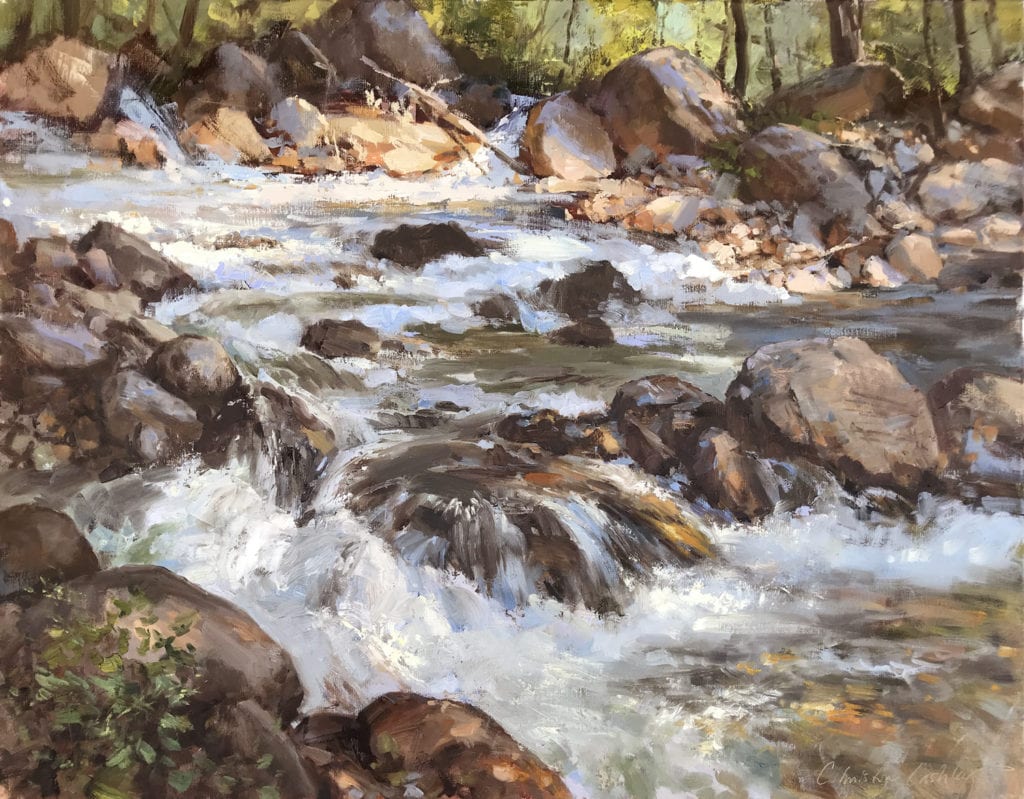
by Christine Lashley
oil, 24″ x 30″
I tried photos for further inspiration of these places and moments, but they were a dead end. Looking for a photo ended with disappointment: often I passed right by a photo of my chosen moment. My memory had morphed the moment into something visually different so my memory and the photo didn’t match anymore! In fact, looking at photos distracted me with a flood of extraneous details and confused me (‘really – the scene looked like THAT?’). It didn’t help that I have thousands of photos on my computer to sift through. I got overwhelmed and discouraged.
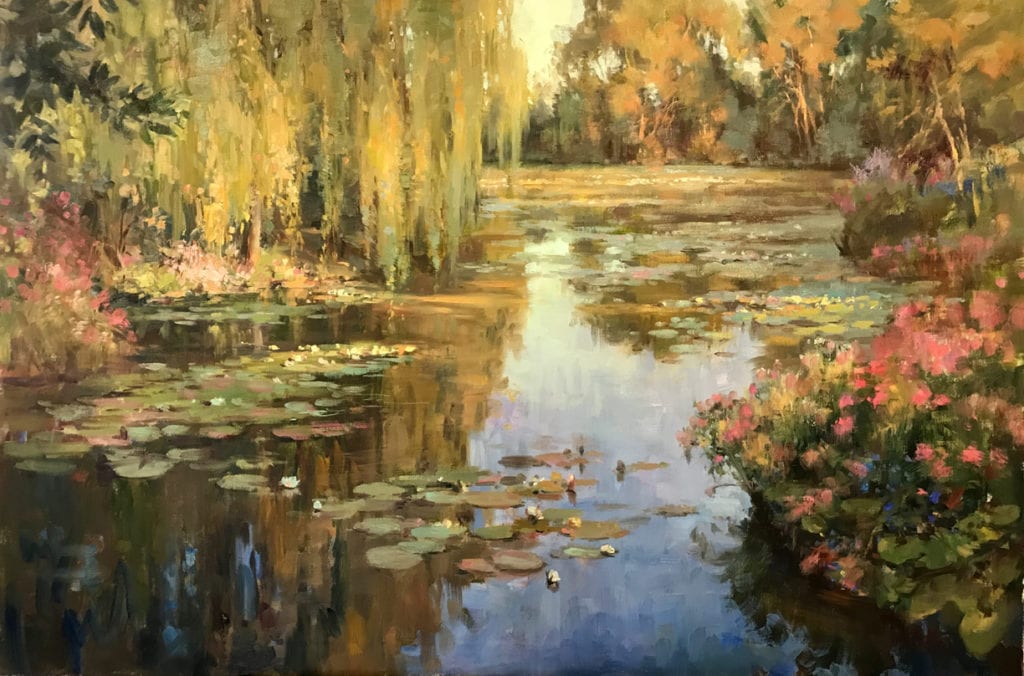
by Christine Lashley
oil, 24″ x 30″
Ideas and Abstraction
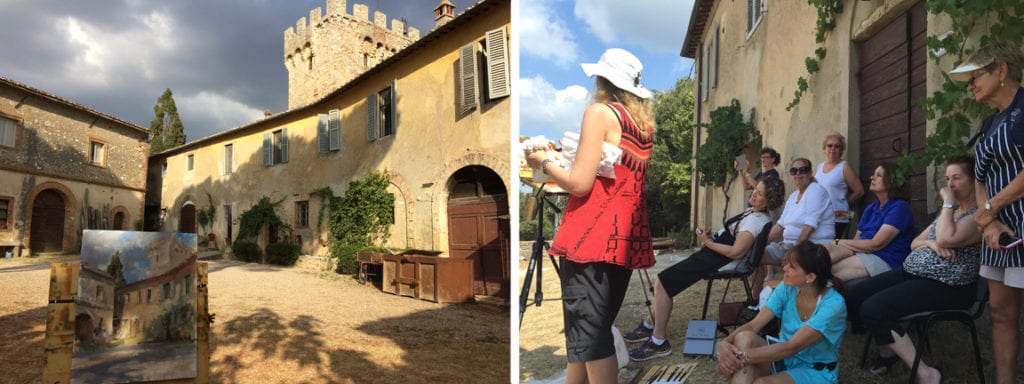
An open mind to the new direction a painting would take was important, as the studies did not solve all the design, value and color issues needed for working larger. Interestingly, I could ‘see’ the flaws more easily in older sketches; maybe because I’m (hopefully) a better painter now, or perhaps because so much time passed I no longer was so firmly attached to the literal scene. As I worked, I realized intuition was allowed to guide many of my choices by taking the work into abstraction with merged shapes and random texture to imply detail. I often repainted large areas with no reference. This did not mean that I skimped on accuracy if needed, however. I frequently sought new information while creating paintings (this could take the form of a new plein air study if needed, or new photos). So I did end up using photos for reference, but only after I had decided what element or detail to find in a photo. Paintings were done only after they ‘matched the memory’ in my head. Some took a long time; some were done in a week.
by Christine Lashley
oil, 24″ x 36″
Forging Ahead Without Judgment
The whole series could have been derailed early on by fears of what others would say when they saw my work. Such as ‘haven’t water lilies been done to death already?’ I took courage from the fact that I felt very passionate about my scenes, as they were intensely personal. For example, my water lily paintings are inspired by my years living in France, my love of natural areas, and my knowledge of plants as a gardener. My dark fears I tried to suppress were put to the test when it was time to show my gallery the first few paintings, but they were very enthusiastic and supportive. Then there was the yearly angst of submitting to the OPA National Show. Did I trust what I was doing enough to submit this personal artwork? Would it be dismissed as only a pretty image? I took the risk and was very honored that my lily painting “Blues and Gold” was selected for this year’s OPA National Show at the Steamboat Art Museum.
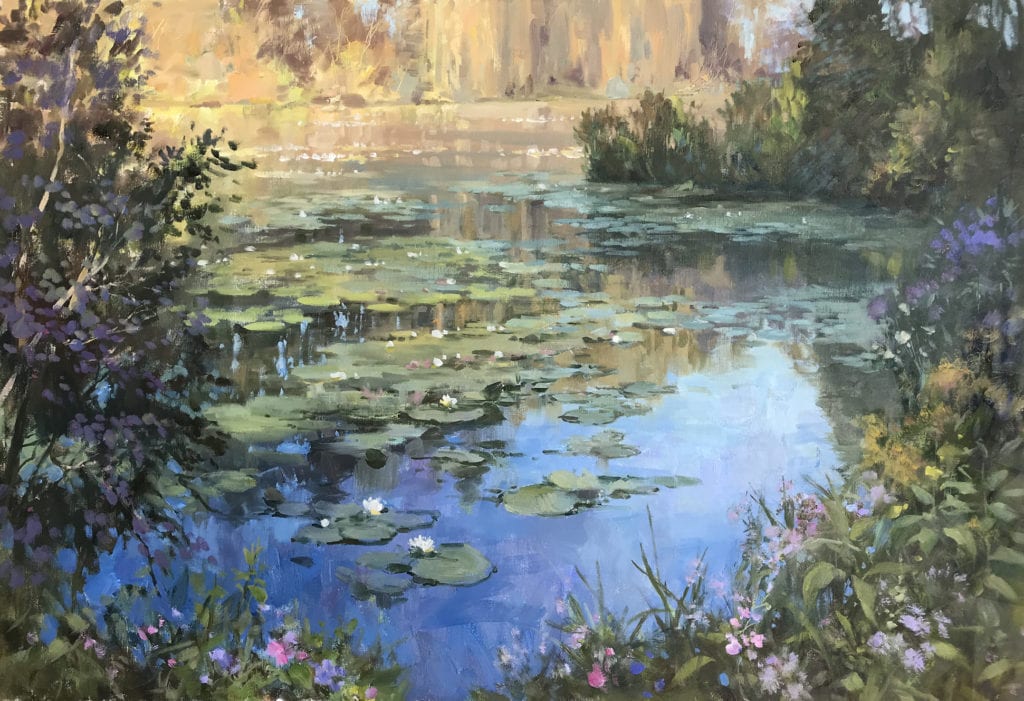
by Christine Lashley
oil, 24″ x 36″
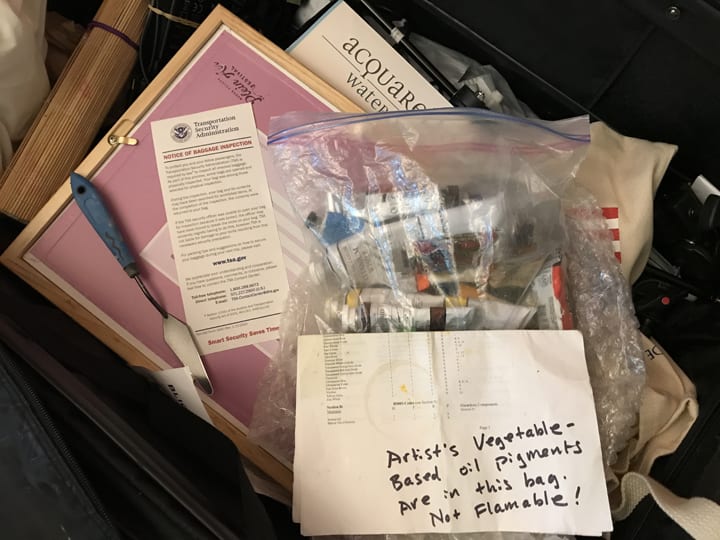
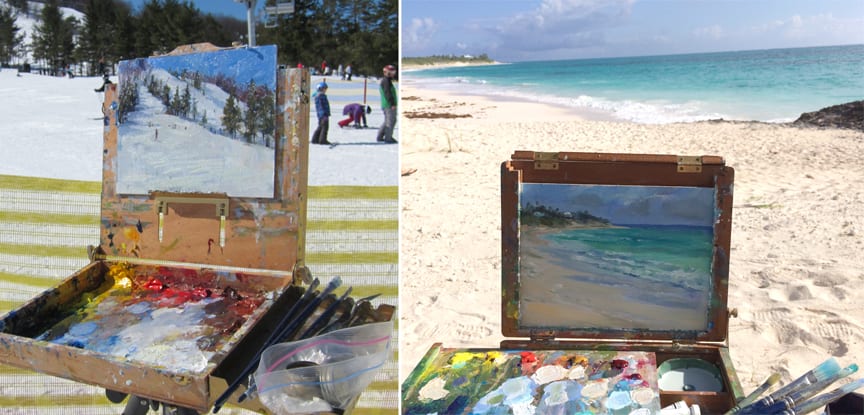

 I paint with both water-mixable oils and traditional oils, and I get a wide variety of responses when people discover this. Everything from rude negativity (“what crap is that?”) to nods from those in the know (“I use them too, aren’t they great!”). It’s rather funny, as most art supplies don’t have groupies or naysayers like this… The lovers and the haters of water-mixables.
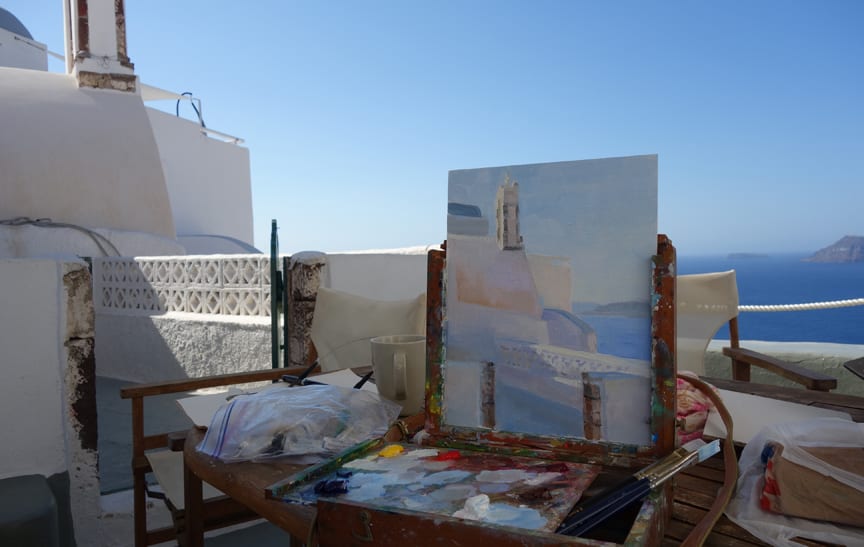
 Faster Dry Time. Water-mixables dry in about half the drying time of traditional oils. The paints actually have two dry times. For thin watery mixes (like a watercolor wash or canvas tone) the water evaporates rapidly and is mostly dry to the light touch in 5-10 minutes. You can still re-wet areas to wipe out or re-mix. At this stage it is possible to start more direct painting, or layering with thicker strokes. To let a thin tone or grisalle layer fully dry (via oxidation) wait at least until the next day. The thicker the paint application (the less water used), the more your dry times will increase. Paint that contains a lot of oil already such as Cadmiums can take longer to dry.
 Brand Comparison/Reviews of Water-Mixable Paints: