As artists, we always desire that our work stands out. One of the key ingredients in a painting is mark making, your individual way of applying the paint. So why not help that process of unique mark making along and actually make a tool to use that no one else in the world will have? I have found that mini relief printing blocks (or I guess you could call them original rubber stamps) are a great help.
There are many repetitive patterns I have found myself painting, sometimes occurring on fabric or sometimes I just want the repetition to create a unified image. As I have worked on those pieces, I’ve pondered different ways to create those repeating shapes since my freehand painting leaves something to be desired in the area of accuracy and painting small shapes over and over can get tedious. I tried stencils cut from card stock and thin cardboard but they didn’t hold up very long or clean up very well when using oil paint.
In college, and off and on through the years, I have enjoyed various types of printmaking, including linoleum block printing, which I finally decided to incorporate in a small way into my oil paintings. For a long time, I have used a chop (a small carved seal or impressed design) along with my signature on paintings, so it wasn’t much of a leap to add other impressed marks. When the painting idea calls for it I carve designs out of eraser-like soft blocks which cut almost like butter. From 1/4” to 3/8” thick, they come up to one-foot square and are available at online art suppliers. Linoleum cutting tools work well, although I usually just use an X-Acto knife.
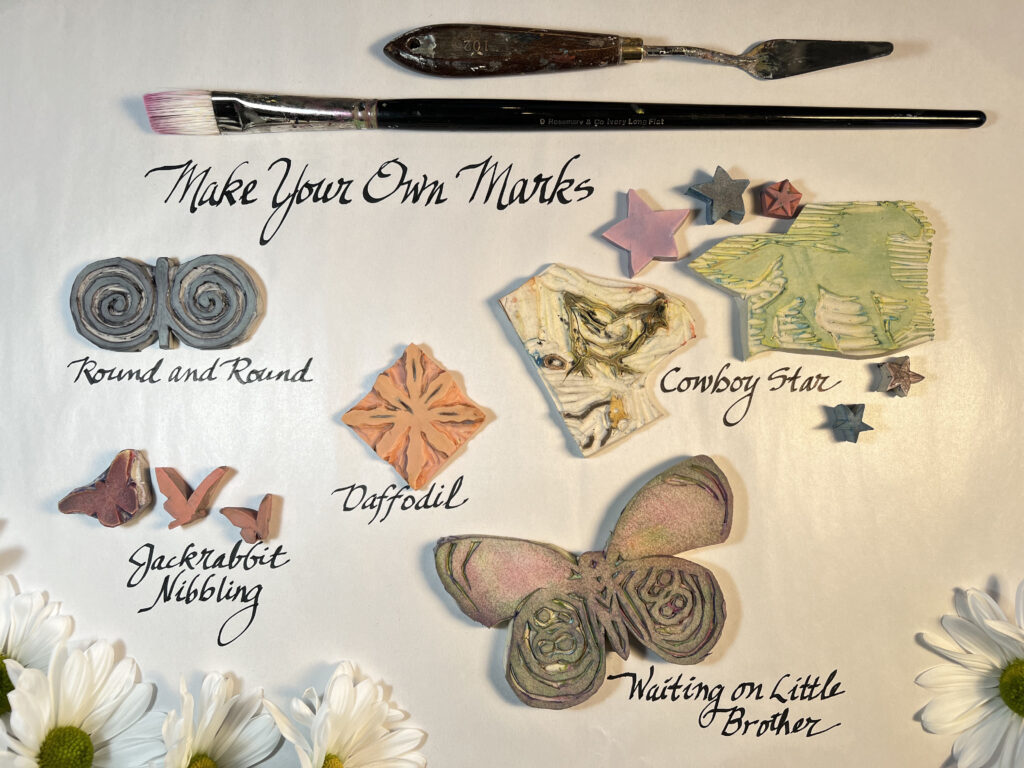
I can have an idea and literally in 20 minutes I can be holding the finished block, ready to use. The carved look of the stamp is also to my liking. Seeing the strokes of the carving tool is a little like seeing the strokes of paint; I enjoy having the process visible. *IMPORTANT TIP: if your design needs to face a certain way or it incorporates letters or numbers, draw it on tracing paper, flip it over and draw over it to transfer the pencil design to the carving block so you can carve it in reverse. I have learned this step the hard way!
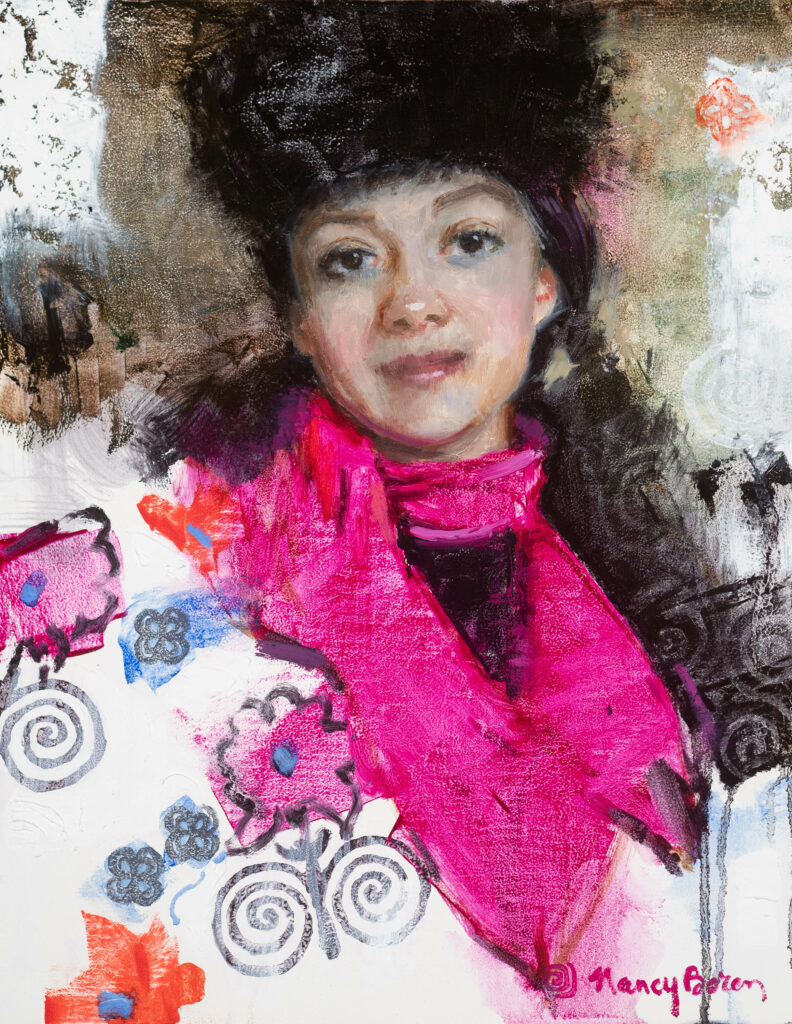
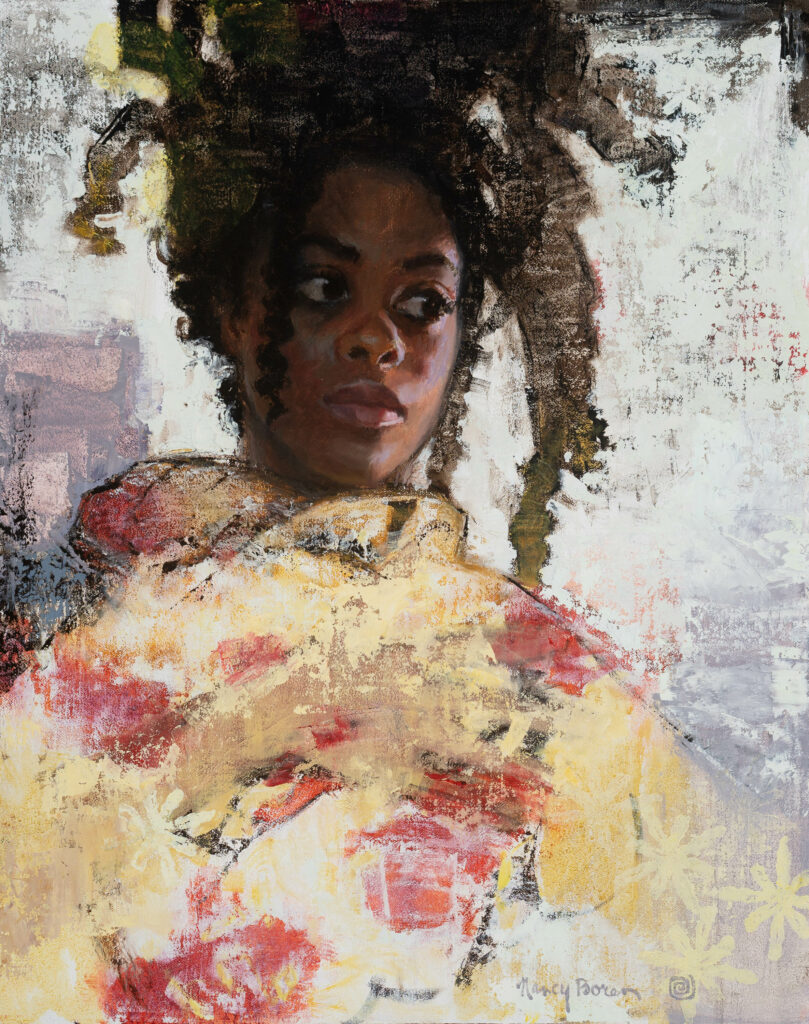
When I painted Round and Round, the model was wearing a coat from Uzbekistan with traditional embroidered designs. I had previously done a painting of a woman in the same coat and rendered it in a realistic way, so I decided to try doing it more abstractly this time and I thought the graphic designs on the coat would be a nice contrast with the realistically painted face.
After selecting the spiral motifs and the small flowers to highlight, I carved the blocks. The spiral block ended up being 1 1/2” x 3”. Black oil paint was rolled onto my glass palette with a brayer (small roller used in printmaking) and the stamps pressed into the black. You could roll the paint directly on the stamp or apply it with a paint brush, just try to get an even coat. Then press it to the canvas. Press it again for a lighter mark or drag it like a brush. The large flower shapes I drew with a paint brush. The nice thing about stamps is that they can apply paint or if they are clean, they can lift it off, which I did on the right side where I had painted in the wet black background. I find it pleasing having the negative and positive of the same shape in an image. I also pressed on one spiral in white above the black area. A day or two later, feeling that the black spirals were too dark, I lightly scumbled white paint over them.
Print in several colors, pick up, layer, smear – there are lots of possibilities.
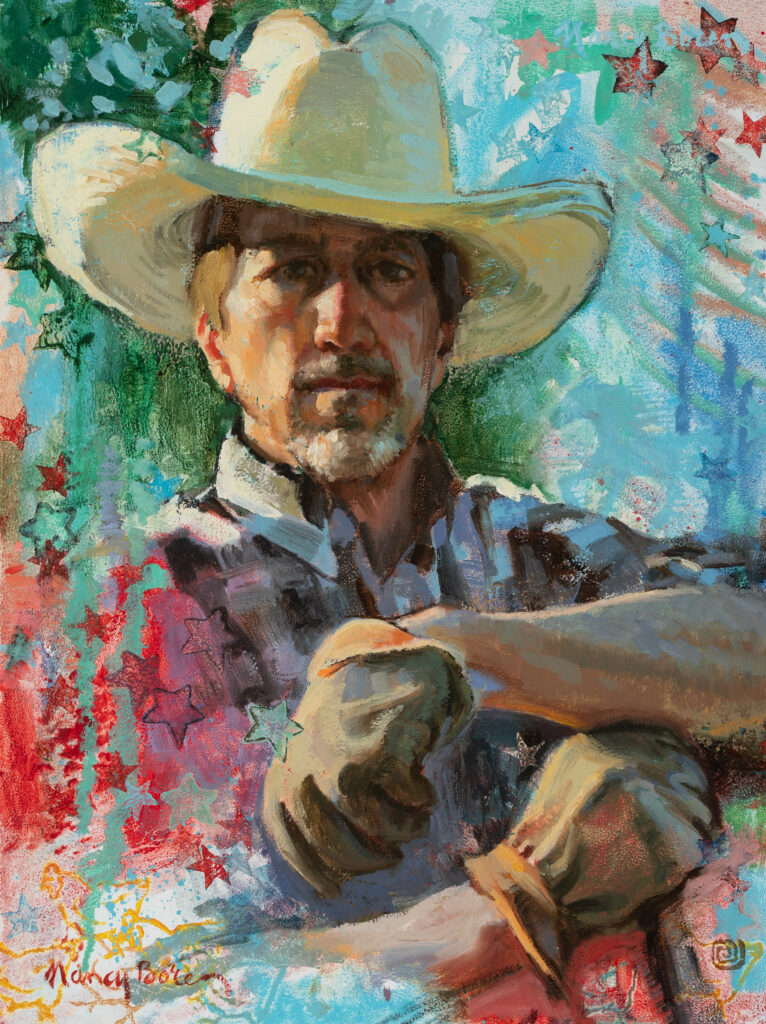
When you “ink” (with oil paint) the stamp and print into wet oil paint, like I did with Cowboy Star, you never know just how it will mix. That’s part of the fun of it. The stamp may lift off some paint already on the canvas while leaving some new color behind. I also painted just the edges on some of the stars to make an imprint of the outline.
The interesting silhouettes of miniature relief blocks are also helpful in creating texture on a background. There is a horse above the cowboy’s shoulder on the right and three chicken outlines in the left lower corner. No one else may have noticed those shapes in the background clutter, but I know they are there and it kept me entertained while I was doing it.
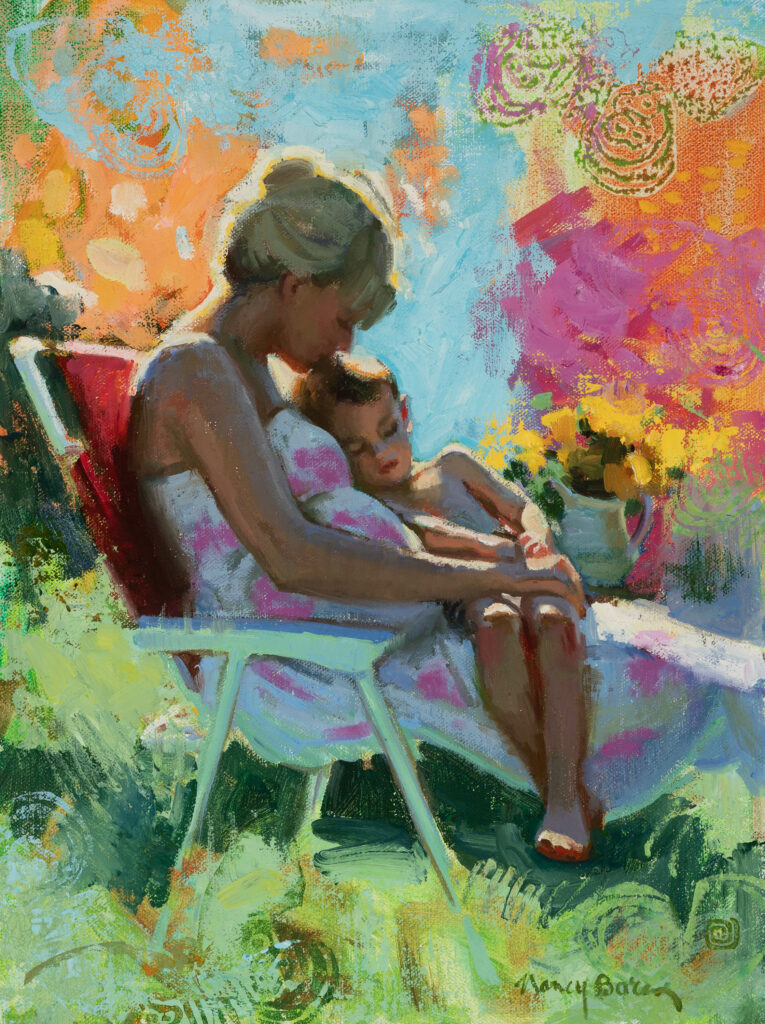
The big Anna’s Eighty-Eight butterfly stamp was used similarly in four colors to create background texture in Waiting for Little Brother. Some of them are only partial butterflies, just use what you want of it, like using the large flat side of a brush or the thin edge. The flower used in Daffodil was made for a different painting, one that didn’t work out, but then it was perfect to add a bit of structure to her dress.
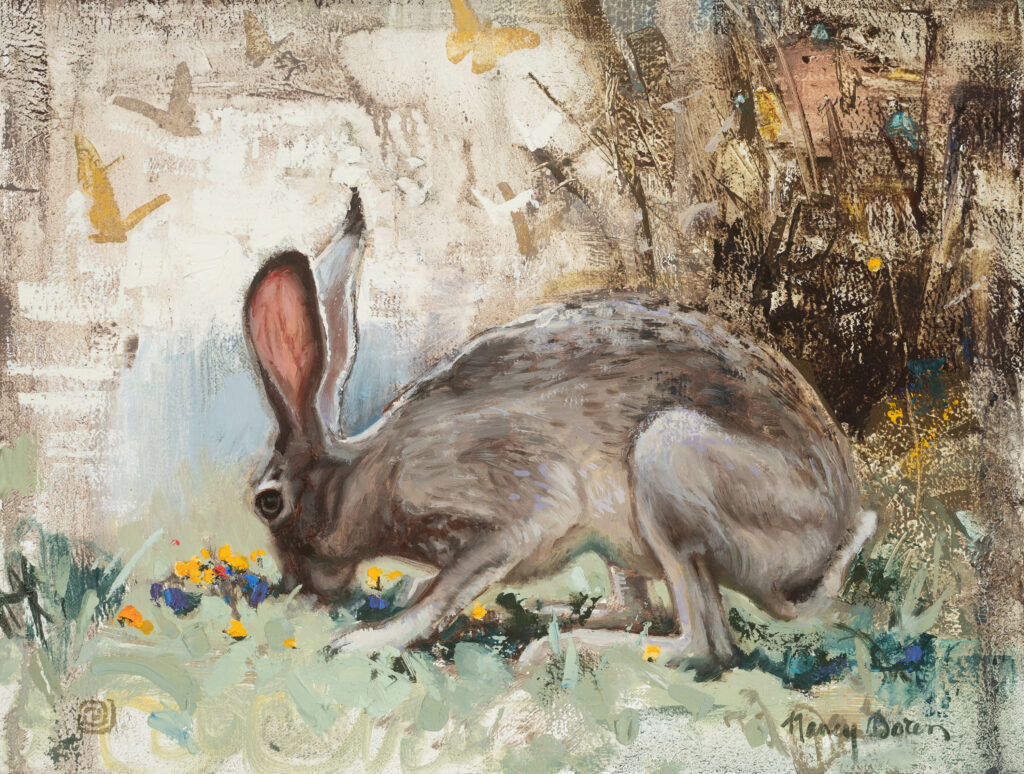
The butterflies in Jackrabbit Nibbling have been used in several paintings, in different arrangements and numbers.
Once you have amassed a collection of your original stamping tools (and the scraps in weird shapes that are leftover), you can use them over and over just like your favorite brush, palette knife, squeegee, or paint scraper. As you work on a new painting you may realize that you already have a little extra something in your bag of tricks to give it the perfect unique touch.
Sandra Dodson says
Wonderful article Nancy. And what fun. I am excited to make some marks in my paintings.
Natalie Italiano says
Very interesting! I’m going to try this. Thank you.
Doreen StJohn says
I really enjoyed your article, Nancy! These are great examples and I love your paintings!
Nancy Boren says
It is fun and really easy. Hope you like the results you get!
Nancy Boren says
I hope you enjoy the process and get some good results!