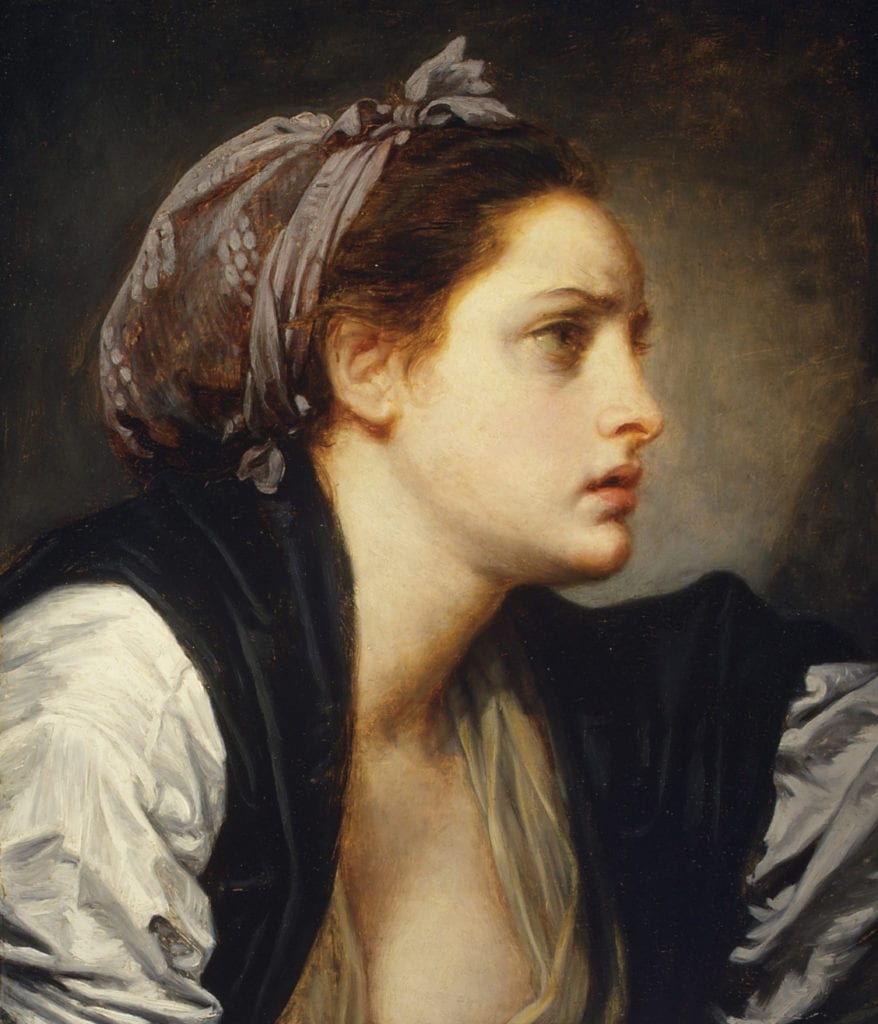
1870
“Study Head of a Woman”
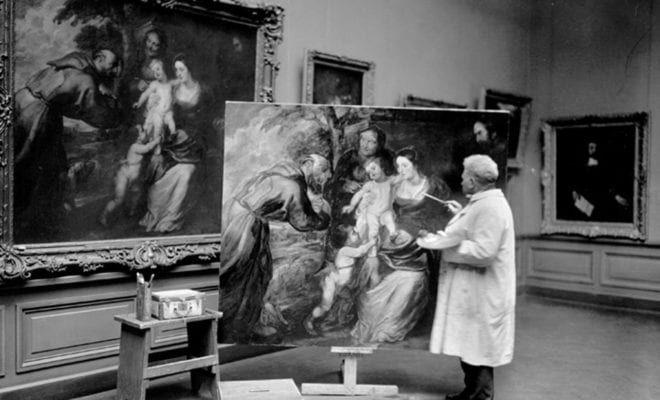
I’m taking a class from the New York Academy of Art called Master Copying Class at the Metropolitan Museum of Art. Could anyone be a better teacher than a great master, despite, of course, being long dead? Fortunately, I also have a great living teacher, João Brandão, to help me interpret what I am looking at. Copying a painting at the Louvre or any great museum, a tradition going back many centuries, is how most of the great masters learned to paint. The Met’s Copyist program was founded in 1872, two years after the Met first opened, the program has provided countless artists the opportunity to copy the great works that fill the museum’s numerous galleries.
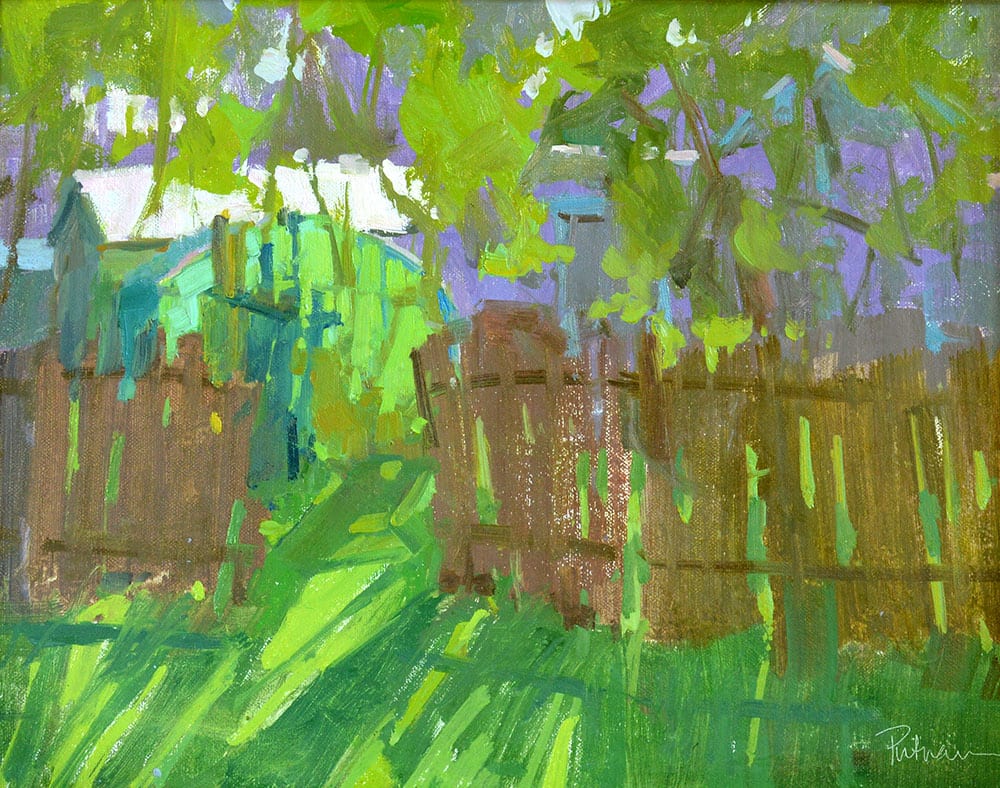
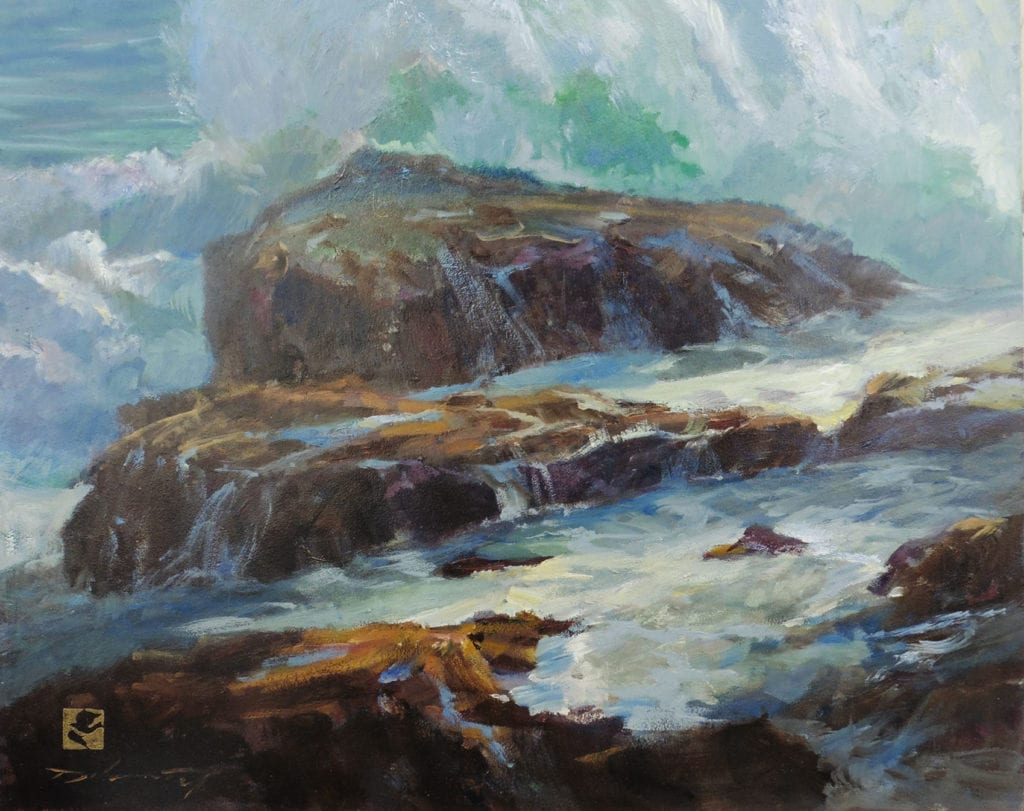
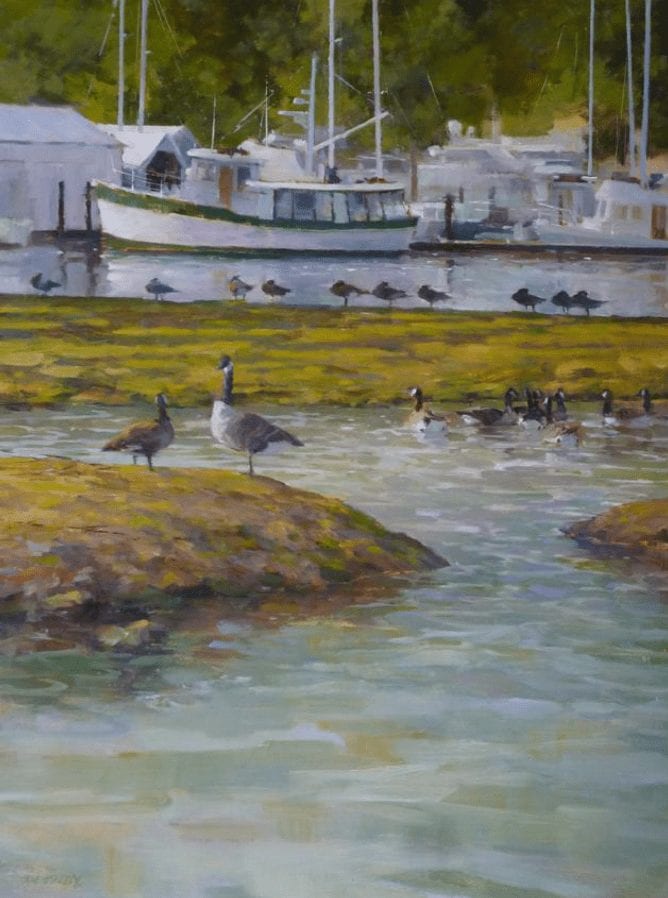
I’m so excited to take this class–in fact, so excited that I am 45 minutes early! Walking up the museum steps today (which I have done many times) felt strangely different. I really think this is going to be a great class. I loved copying the Romney painting at the Philadelphia Museum of Art, which I did without the benefit of a class. My friend Dr. Hal Shanis and I just decided we wanted to do it. We really didn’t know the ins and outs of what we were supposed to do, but had a terrific time doing the paintings and figuring everything out. This is much more formal and feels more like it might be like the high bureaucracy of the Louvre though I don’t think there are any interviews or other hurdles. In fact, the painting schedule is already set.
The first day the class met with NYAA teacher João Brandão in the Uris Center for Education in a conference room near the copier office at the Met. We talked about the rules of the Met and the schedule. (The Met has strict guidelines for copying not only out of fear of forgeries, which would exclude large and popular paintings, but also for such practical reasons as the traffic in the gallery where the painting is located. For all the guidelines see www.metmuseum.org.) We then took a guided tour of the Thomas J. Watson Research Library, which has one of the most comprehensive collection of books and periodicals on the history of art in the world. The rest of the day was spent combing through paintings that were on the approved list from the curators from the different galleries of the Met. Below are some of the paintings I was hoping to paint but, unfortunately, were either not on the approved gallery list or were not approved by the curator. Sooo frustrating!
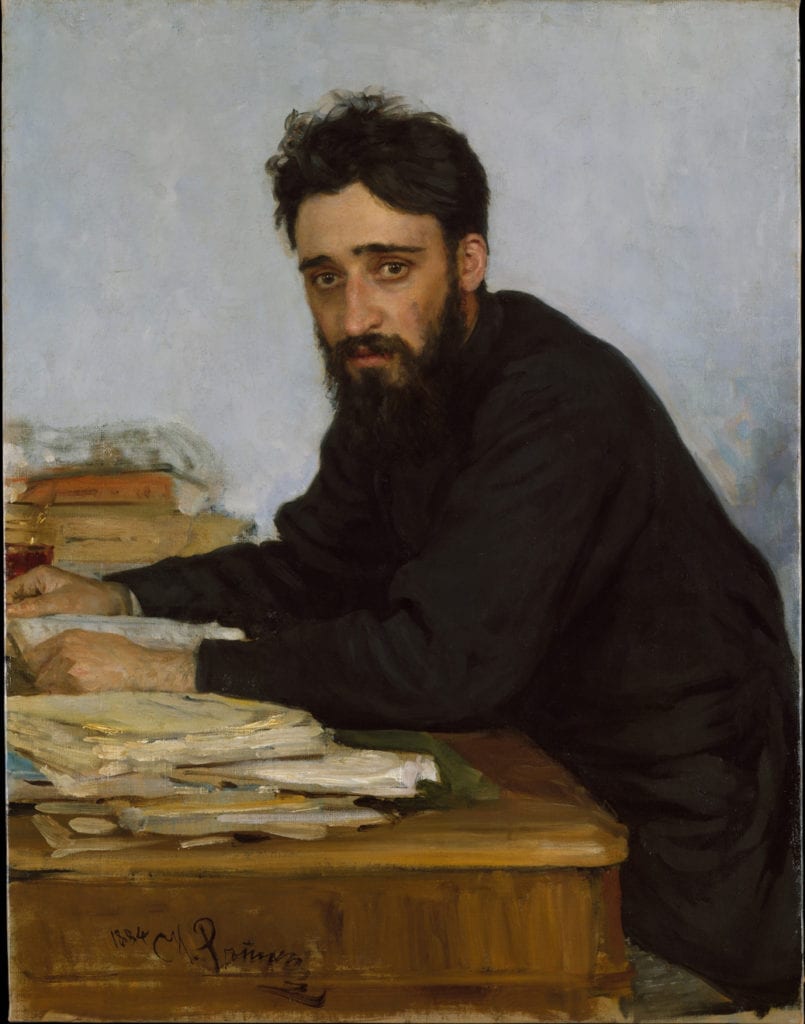
“Young Lady in 1866”
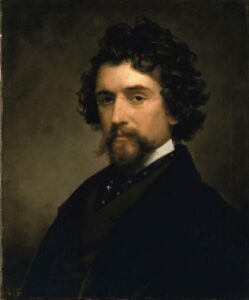
“Mathew B. Brady”
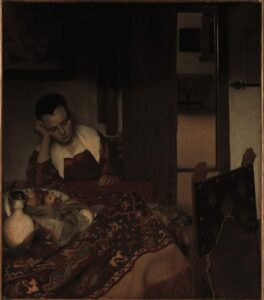
“A Maid Asleep”
1504
Albrecht Dürer
German, Nuremberg 1471–1528 Nuremberg
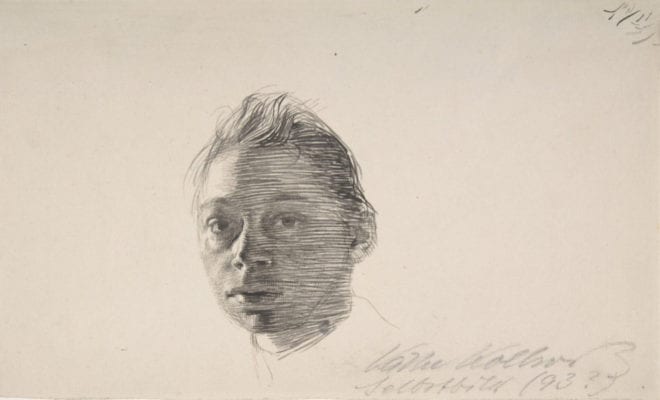
I forgot to mention the best day of our non-painting days. It was to visit the Met’s Drawing and Prints Department. This is where we met brilliant Laurie Murphey, the Met’s education person in charge of the copyists. (Copyists are the students, like us, who copy a master painting.) Our class, of only 4, was shown 4 or 5 drawings at a time, from Leonardo da Vinci to Rembrandt. These original master sketches were pulled out of boxes and put on desk easels in front of us. We each picked one and started sketching. What an off-the-charts fabulous exercise, which the other schools also had an opportunity to do on different days!
To find out more about my experience at the Met, follow me on my blog!